Typical Uses:
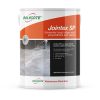
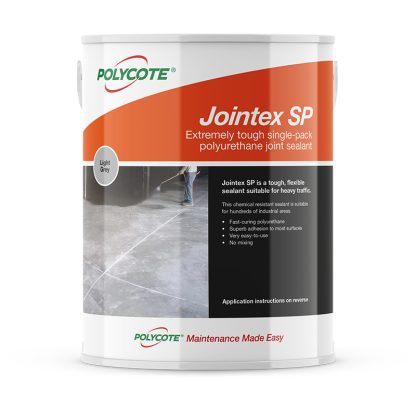
Gun-applied moisture curing polyurethane floor joint compound with outstanding resistance to joint movement, coupled with excellent adhesive properties, Jointex SP is ideal for both vehicular traffic and pedestrian areas and can be used in almost any environment. From areas with extreme expansion issues right though to a temporary joint fill requirement..
.
SP Primer should first be applied to very porous surfaces.
Easy-to-use single pack joint sealant
Tough, fast curing polyurethane
Superb adhesion to most surfaces
Coverage per tube: 7 linear metres at 9mm x 6mm
Supplied in a pack of 12 x 380ml tubes or as a single tube.
Application temperature:5oC – 35oC
Depth of repair (1 layer):Minimum of 10mm or equal to the width
Initial cure time:Tack free: 20 mins
Full strength cure time:24 hours per 2 mm
Typical shore A hardness:55
Full tensile strength at break:1.85N/mm2
Movement accommodation:35%
Modulus @ 100% extension:1.12N/mm2
Maximum expansion:220%
Service temperature:-40oC – 150oC
Number of parts supplied:1
Coverage per 380ml tube:6mm x 6mm joint: 10.55m
6mm x 9mm joint: 7m
12mm x 9mm joint: 3.5m
18mm x 10mm joint: 2.12m
25mm x 10mm joint: 1.5m
Priming required:For porous surfaces – Use SP Primer
Please consult the technical data sheet for full technical product data.
Preparation:
Thorough joint preparation is essential.
Any previous joint filler should be removed and all loose debris raked out. The prepared surface should be dry, clean, sound and free of flaking or loose material. Porous surfaces should be primed with Polycote SP Primer – see ‘Suitable Substrates’.
Priming:
A single coat of Polycote SP Primer should be applied if appropriate using a clean dry brush and allowed to dry for 60 minutes. Jointex™ SP should then be applied as soon as possible and in any case within 8 hours.
Application:
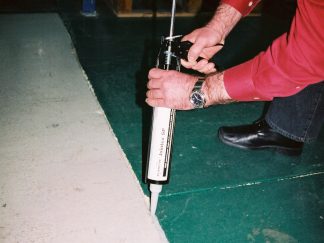
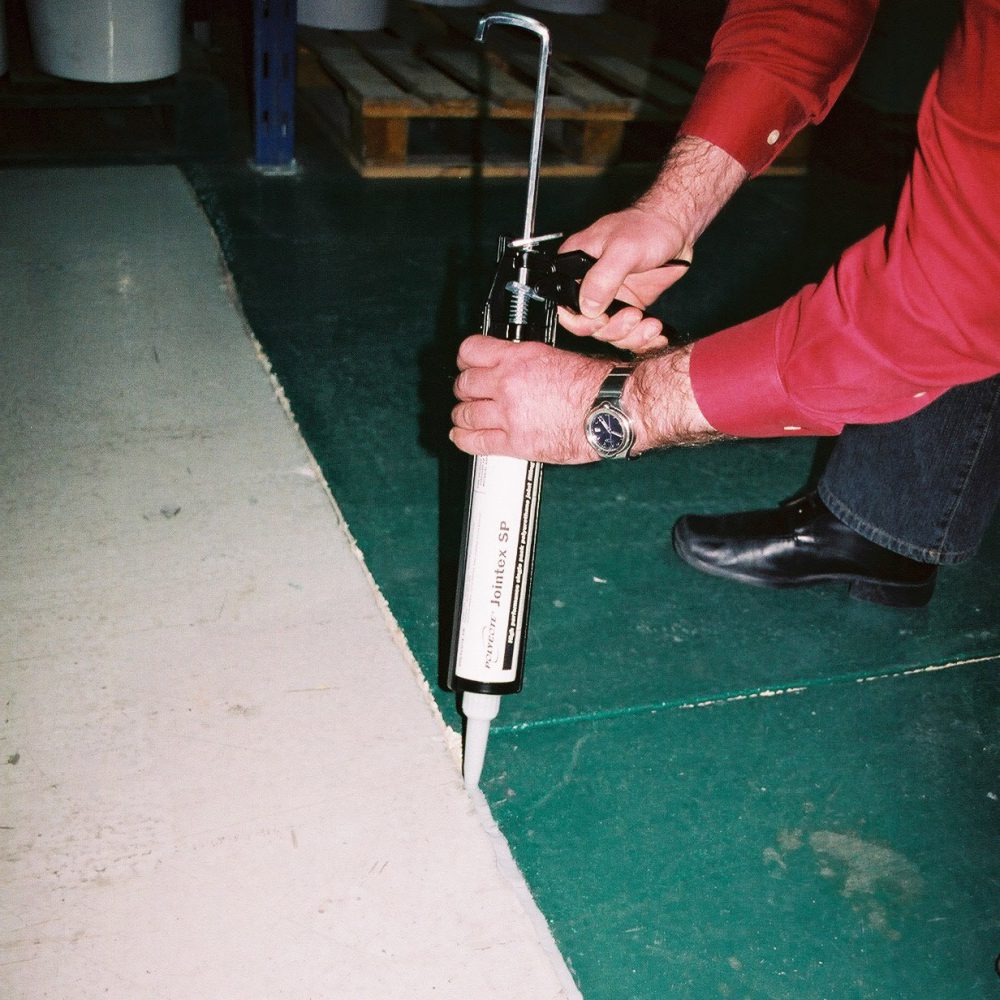
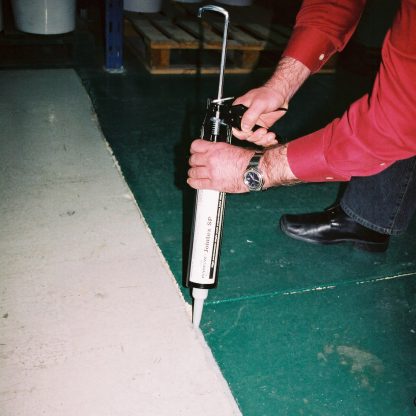
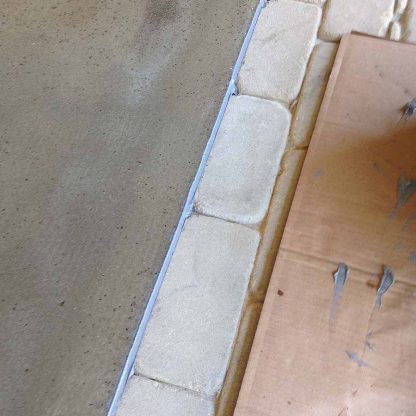
Should the joint be deep, this can be filled with either kiln dried sand (commonly known as Block Paving sand) leaving a depth of no less than 10mm from the surface. Make absolutely certain that you carefully dust off the shoulders of the joint so that the Jointex can get a good clean surface to grip. Alternatively, our Foam Backing Rod is quicker and cleaner. This can then be inserted and ‘squashed’ into the joint, again, leaving at least 10mm down from the floor surface. Cut the nozzle at an angle to facilitate the placing of the compound and apply using a caulking gun. Should a perfectly flat finish be required, the product can be pumped in sightly proud of the surface and once cured, cut through with a sharp knife / Stanley blade to leave a nice clean joint. Do not traverse until completely dry.


 Technical Data Sheet