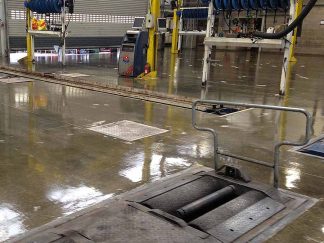
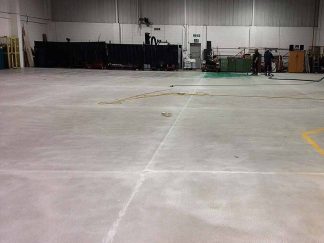
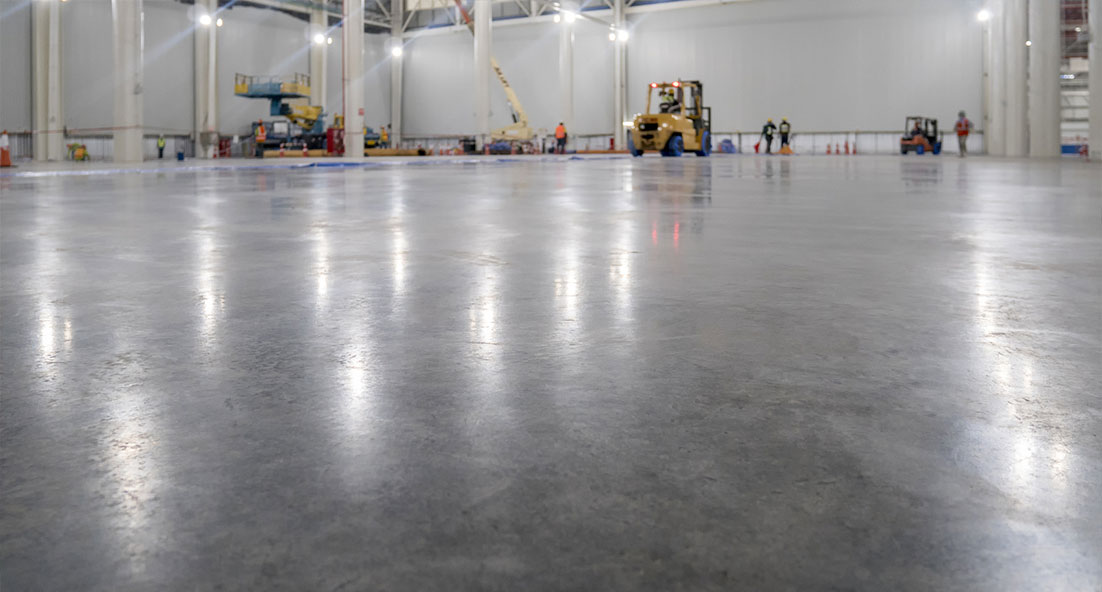
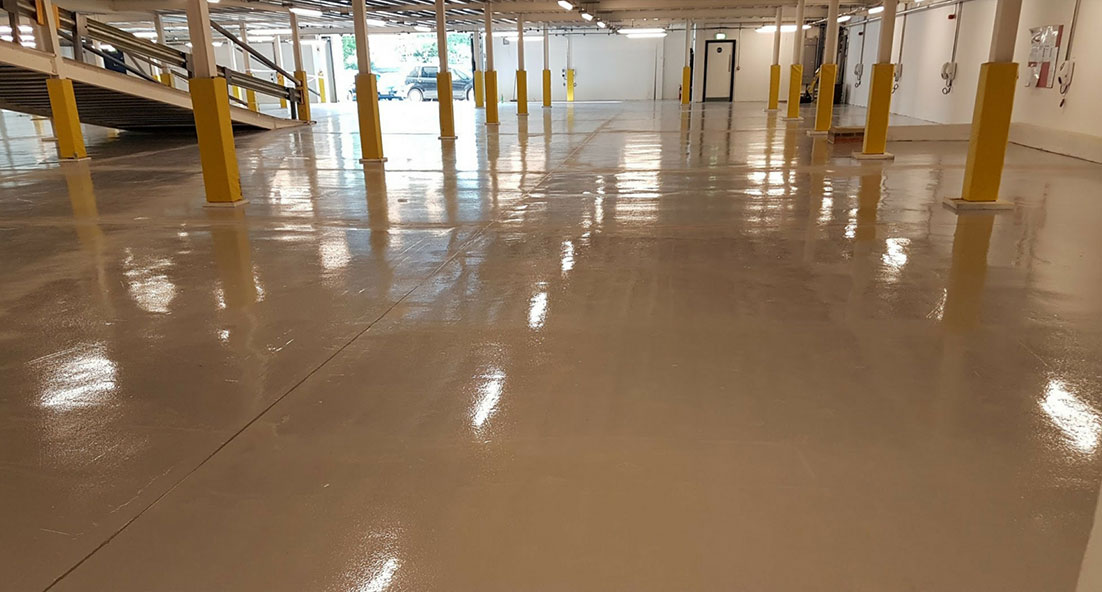
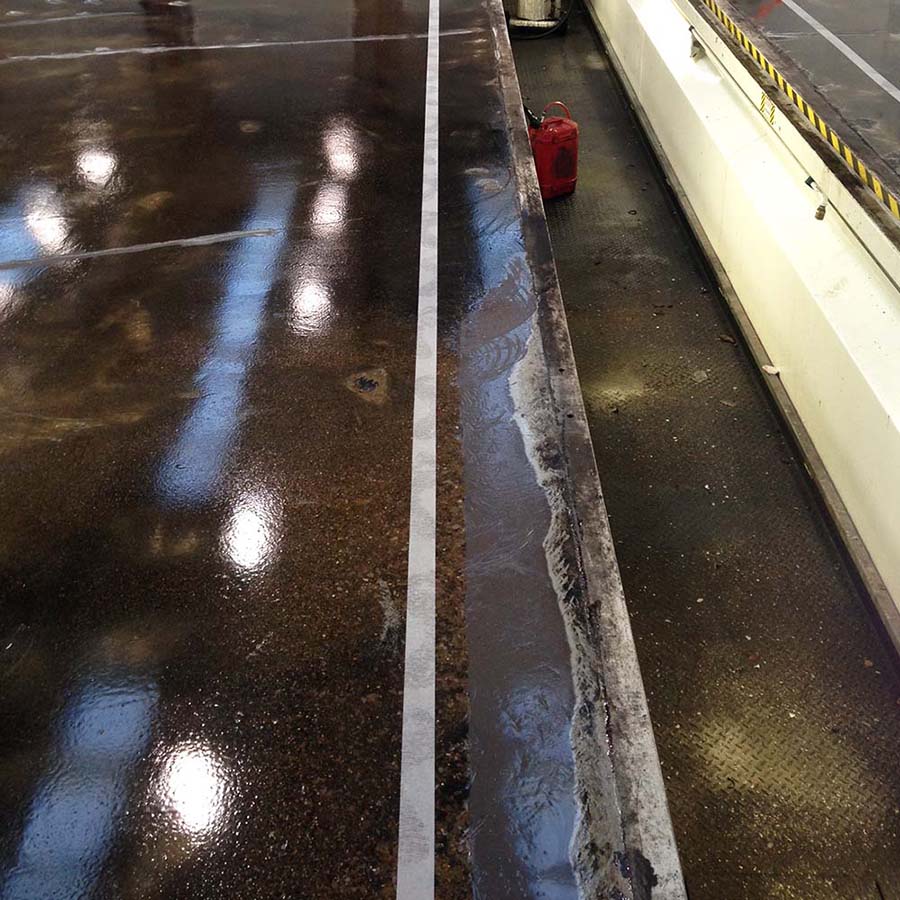
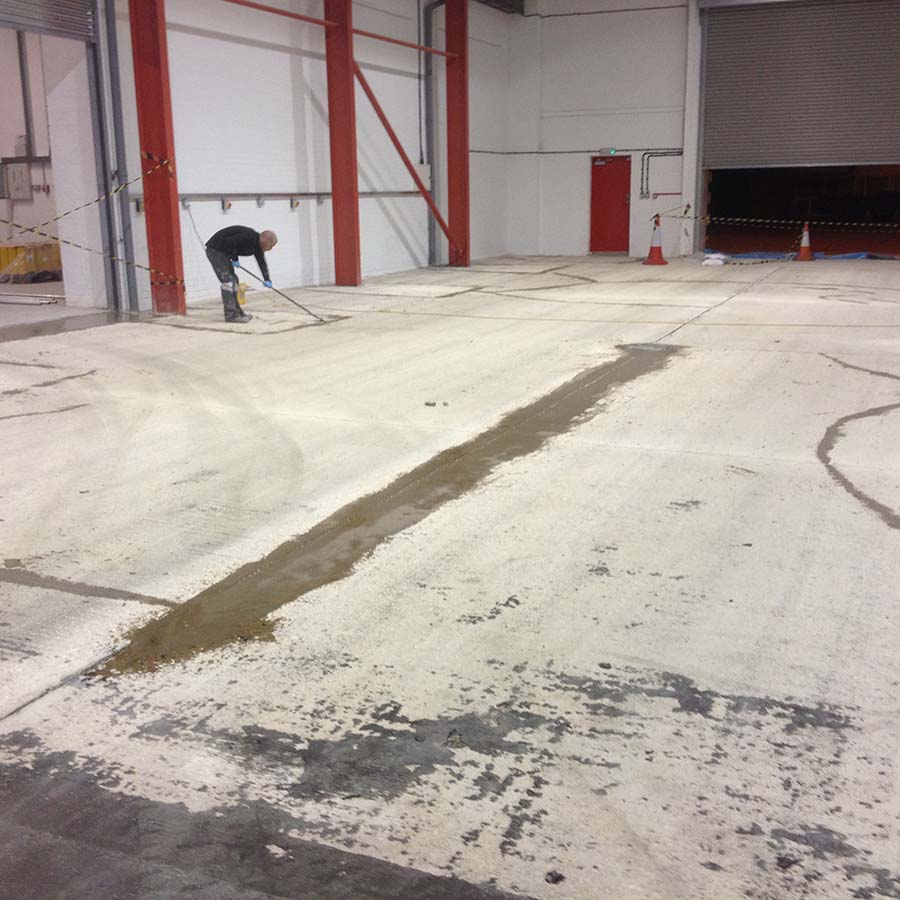
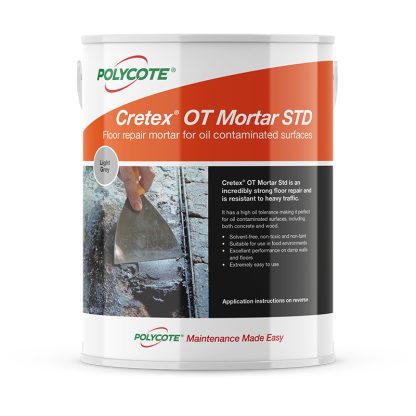
Cretex OT Mortar Epoxy Garage Floor Repair has been specifically formulated for the fast and successful repair of concrete floors in:
- Garages
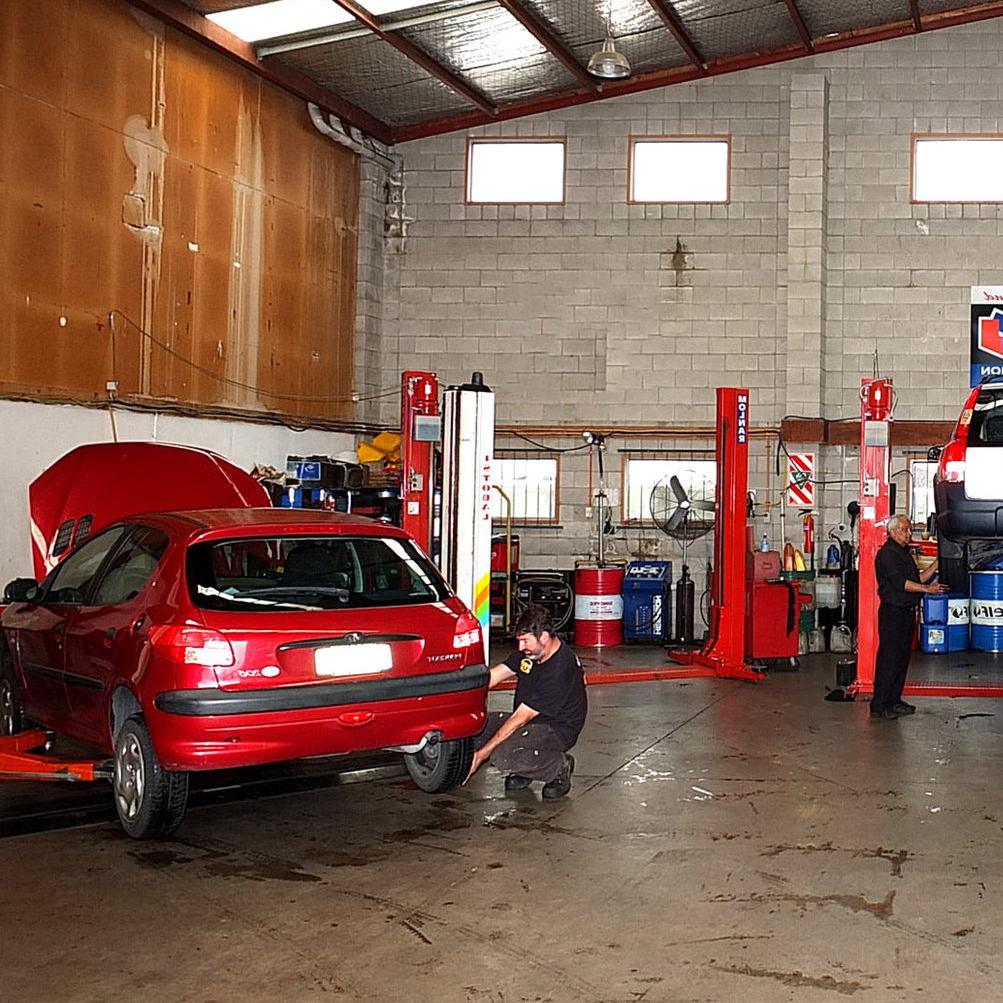
- Workshops
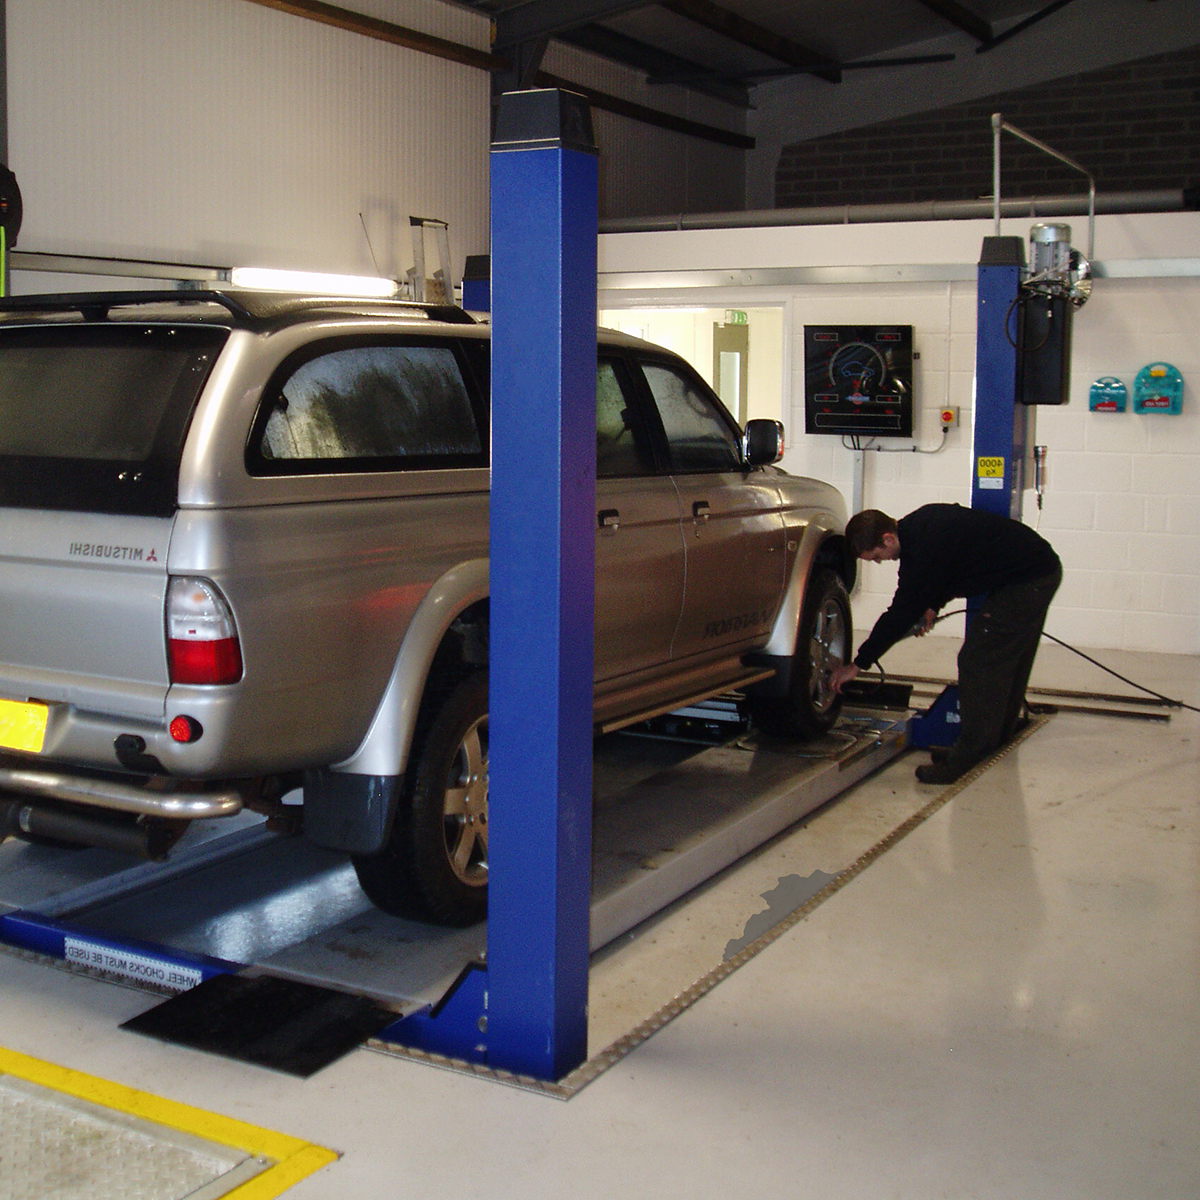
- MOT Bays
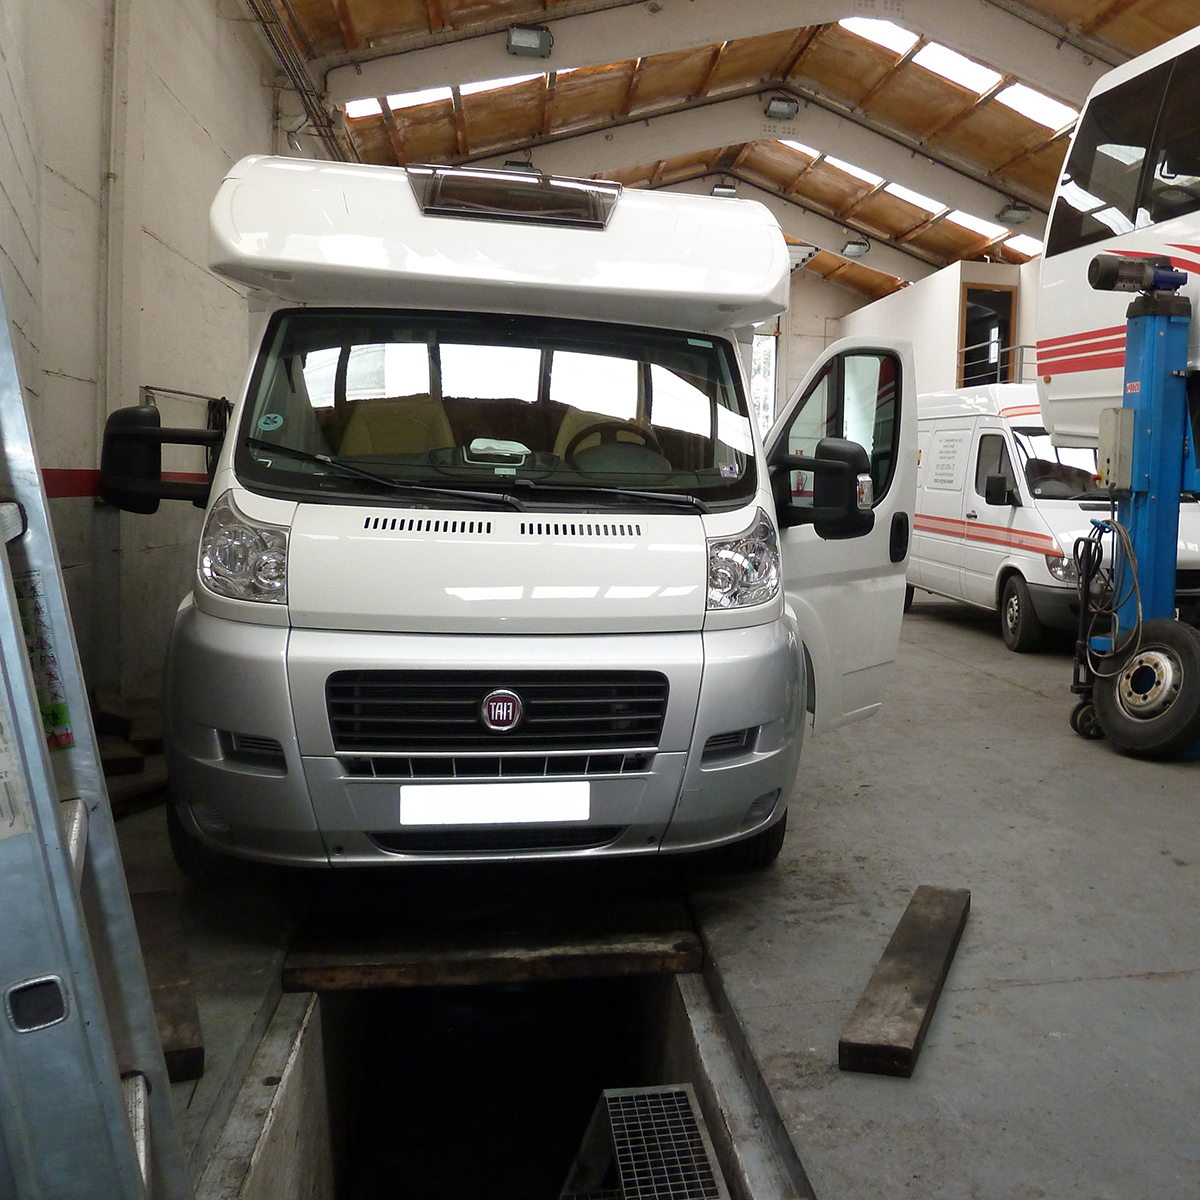
- Inspection Pits
- Wash Bays
- Fuel Areas
- Chemical Bunds
- Customer Waiting Areas
- Production Areas
- Ramps & Steps
- Showrooms
- Storage Areas
- Car Parks
Polycote Expert Help
If you are not too sure which products to use, please be free to contact our technical experts, on our freephone helpline – 01234 846 780. They have all had many years of hands-on application experience and are more than qualified to help you with any garage floor problem, no matter how large or small.
Pot life: 30 mins @ 20°C
Application temperature: 10°C – 30°C
Initial curing time: 10-14 hours
Walk-on time: 18-24 hours
Overcoat time: within 36 hours
Coverage: unit size of 32kg the approximate coverage is 3m2. @ 5mm thickness
Full cure: 7 days
Depth of repair (1 layer): Feather edge – 200mm
Fully cured compressive strength:68N/mm2
Fully cured flexural strength:80N/mm2
Fully cured tensile strength:45N/mm2
Number of parts supplied: 3
Priming required:For very porous/unstable surfaces, apply coat of mixed resin before adding quartz sand
Please consult the technical data sheet for full technical product data.
Preparation:
Thorough substrate preparation is essential.
Remove all loose material. Wire brushing is advisable. Sweep clean or vacuum.
The surface must be free from grease, oil or contamination. Polycote Degrease IT may be used to clean the area but this must be thoroughly rinsed off and the substrate dried, before applying Cretex OT Mortar. Alternatively, should the surface be particularly porous or weak, Polycote OT Primer has superb penetrative properties and will seal and ‘lock’ the substrate. The primer should be allowed to fully cure before the application of the OT Mortar. See relevant data sheets for full information.
Mixing:
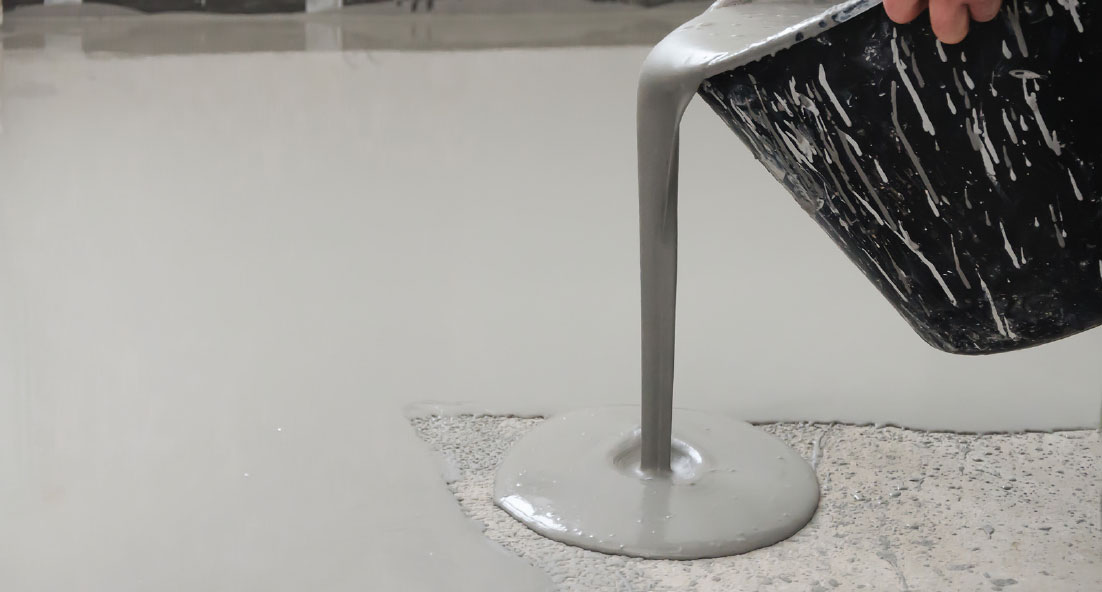
Having fully prepared the substrate, add the whole of Part B to the whole of Part A and mix thoroughly for at least 3 minutes. For best results use a slow speed drill with a mixing paddle. Finally, pour the liquid into the large bucket and add the aggregate to the desired consistency. Ensure thorough mixing as an unmixed product will result in a poor or non-cure situation.
Application:
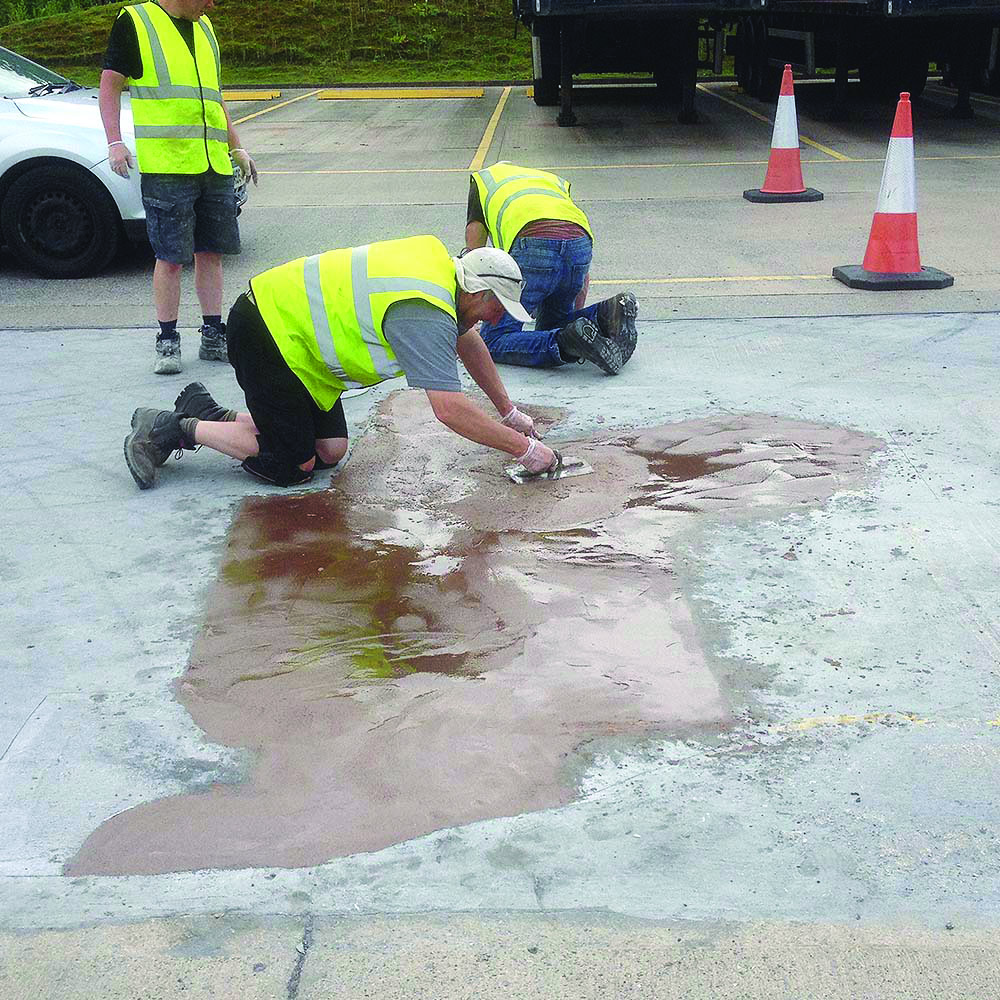
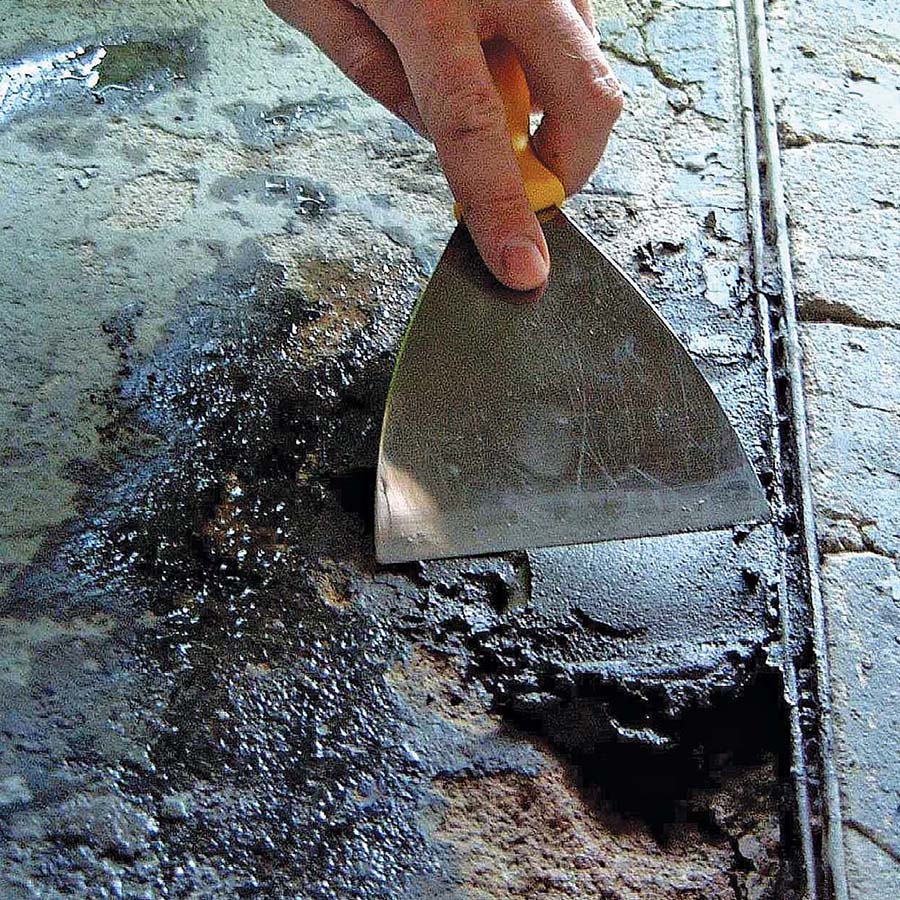
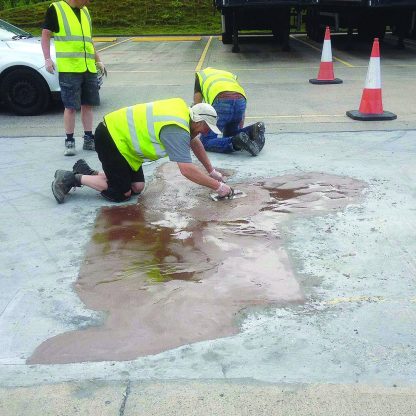
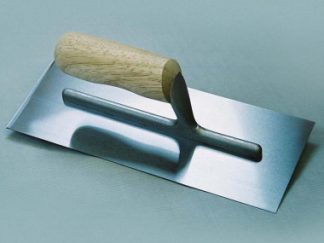
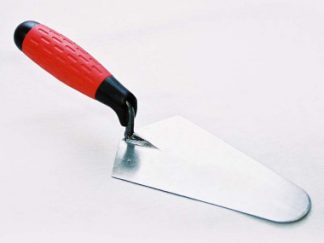
Apply by trowel, or by hand for small isolated areas, wearing suitable protective gloves.
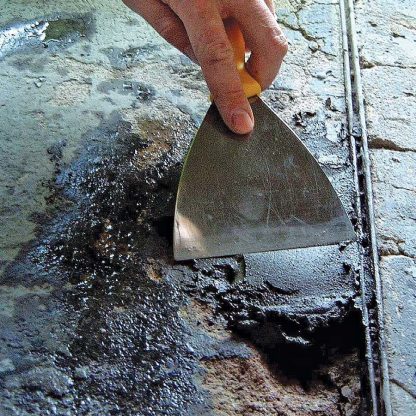
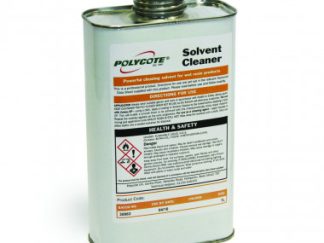
Being resin-rich, Cretex OT Mortar has a typically sticky consistency and smoothing may be assisted by wetting the trowel using Polycote Solvent Cleaner as a release agent.
If when trowelling the mortar the texture remains ‘open’ this can be easily ‘closed’ by slightly tamping the surface with the trowel. This can provide an extremely hard wearing and completely sealed surface.
For vertical repairs – where step nosings or expansion joint edges have broken away, the vertical face of the repair material should be supported to prevent slumping.
Suitable sized wooden shuttering should be covered with polythene to reduce adhesion, and should be removed as soon as the material is firm.











 Technical Data Sheet