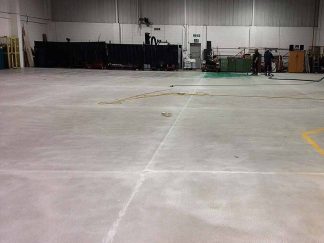
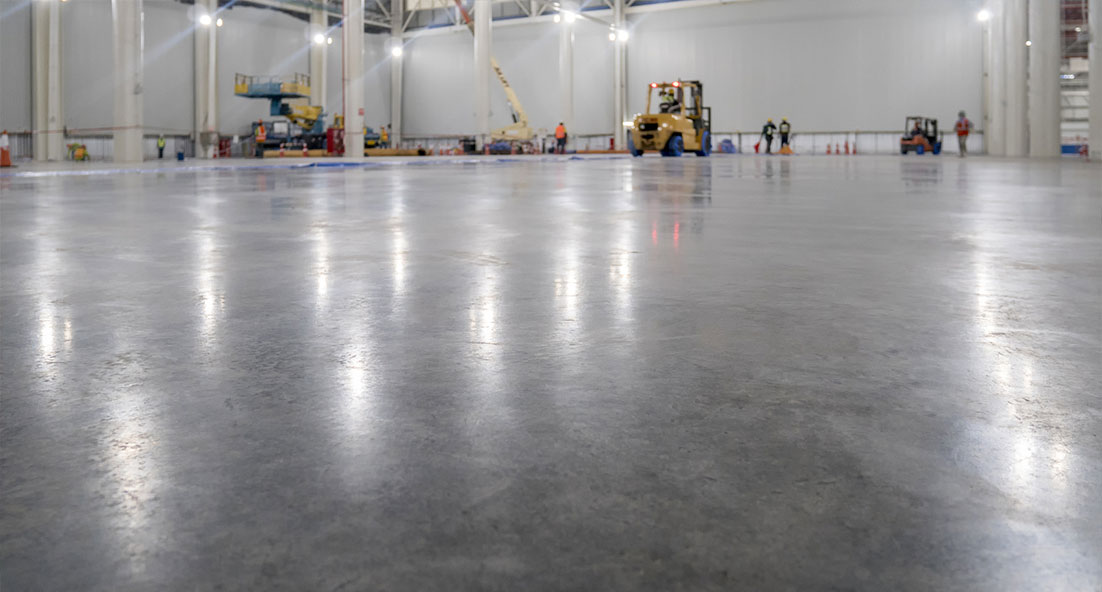
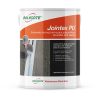
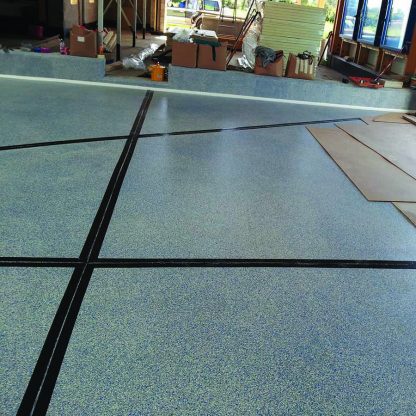
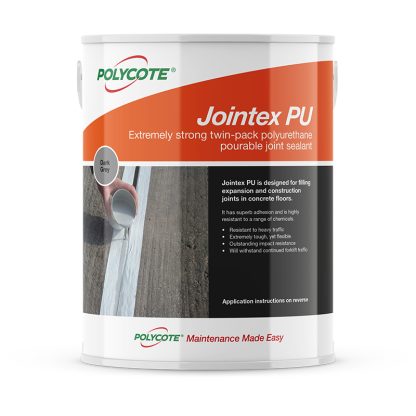
Jointex PU designed for filling expansion and construction joints in concrete floors, particularly if extra chemical resistance is required.
Use on:Concrete, metal, stone, asphalt/tarmac
Use where:Internal/External
Type of job:Sealing expansion and construction joints
Approximate coverage:5 kg unit – 45 Linear metres @ 10 x 10mm
Cure time:Light traffic 14 – 24 hours @ 20oC
Full strength achieved in 3 days
Special features:High strength, impact resistance, extra chemical resistance, extra flexibility
Pot life:50- 70 mins @ 20oC
Application temperature:5oC – 30oC
Depth of repair:10mm – 25mm
Fully cured strength:23N/mm2
Number of parts supplied:2
Priming required:No
Please consult the technical data sheet for full technical product data.
Preparation:Thorough substrate preparation is essential.
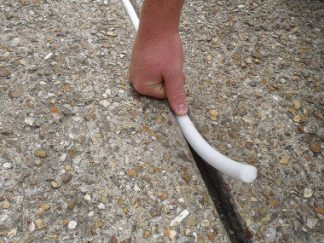
All joints must be clean, dry and free of dust, loose material or previous joint sealant. A gas torch may be used to help remove oil or moisture from the surface.If the edges have broken away, repair using Polycote Cretex® EP. Depending on the extent of the repair, the Cretex material may be supported using a thin polythene covered batten until firm. Alternatively, the more professional method is to totally fill the joint with Polycote Cretex EP and once cured, re-cut in a nice straight line using a suitable angle grinder and diamond blade. This leave a and nice clean straight joint as per the original slab.Please contact Polycote Technical Helpline for advice and the appropriate Data Sheets.The prepared joint can then be part filled with Polycote Foam Backing Rod or kiln dried sand, leaving a minimum depth of 10mm. Tape may be applied to mask the surface each side of the joint during pouring, but this should be removed as soon as material is placed.
Priming:
For hard, sound concrete – no primer should be needed.However, if it is a soft, porous concrete – the shoulders of the joint should be primed first with Polycote EP Primer. See relevant Data Sheet.
Mixing:
Having fully prepared the substrate, stir the individual components before mixing together. Add Part ‘B’ to Part ‘A’ and thoroughly mix for at least 3 minutes. For best results use a heavy duty slow speed drill with a small mixing paddle.
Ensure thorough mixing as an unmixed product will result in a poor or non-cure situation.
Application:
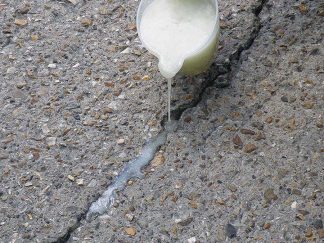
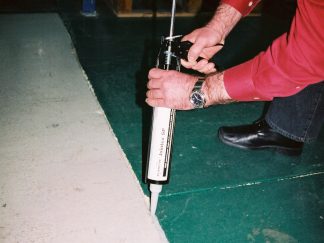
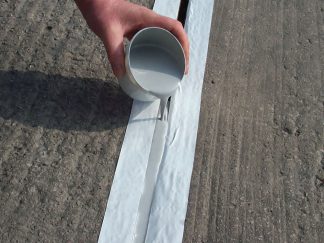
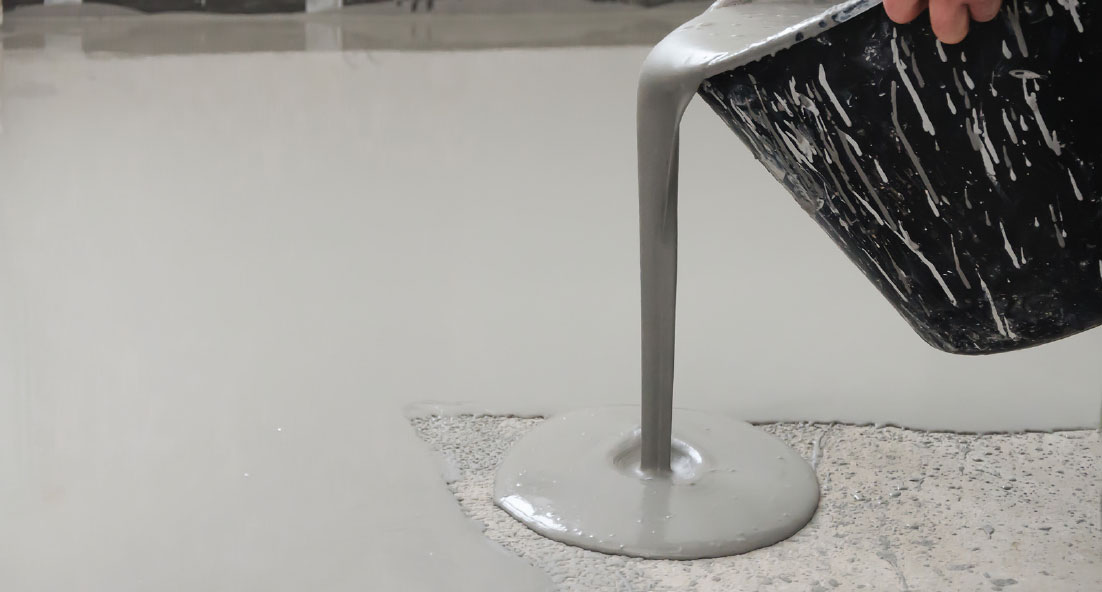
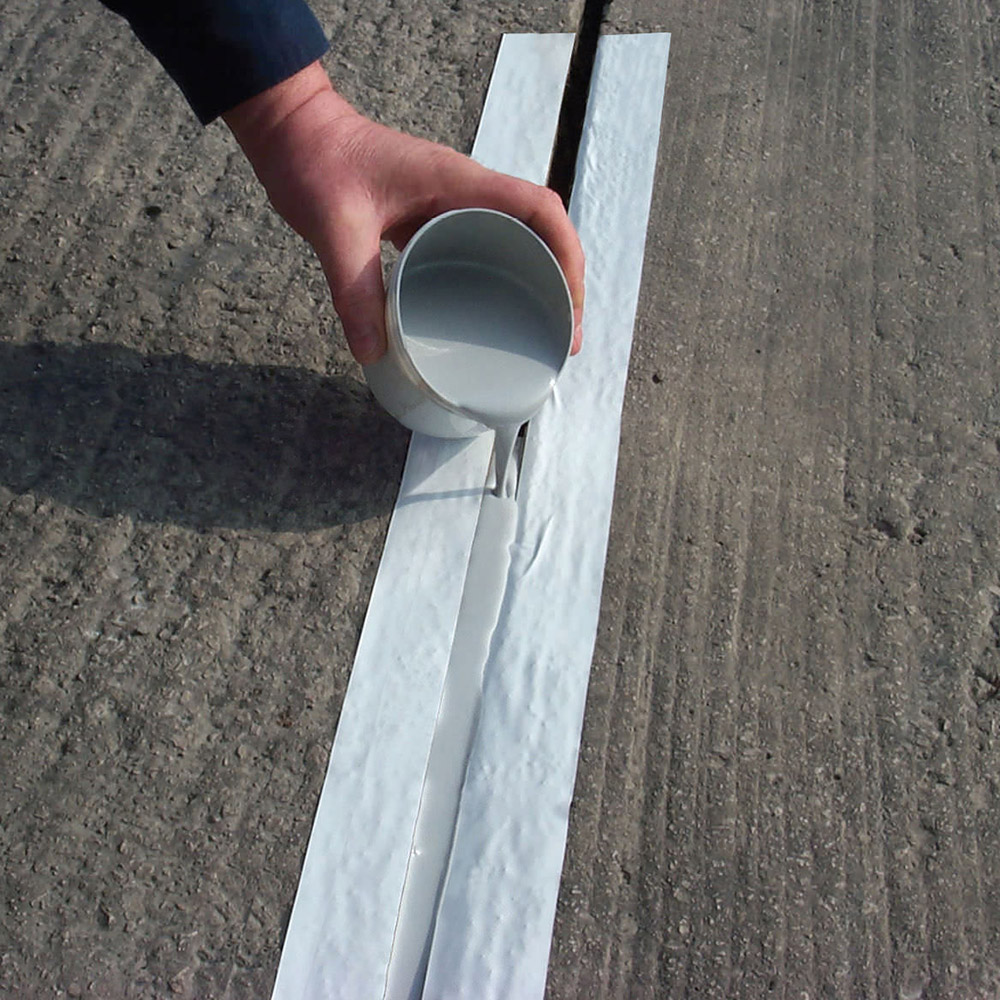
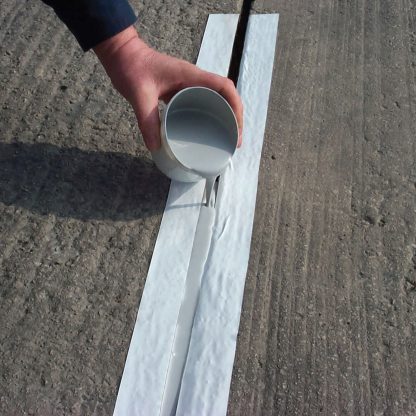
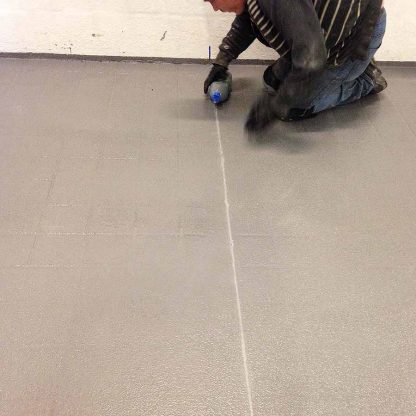
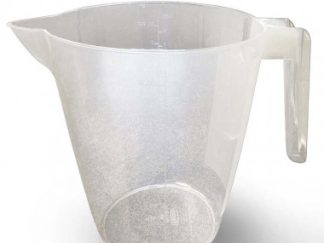
Apply immediately using a jug or suitable container to pour the mix directly into the joint. For a professional finish and maximum joint protection, fill to slightly above the level of the surrounding area, but not to the point of overflow. Once cured, the top of Jointex PU may be cut flush with the level of the floor using a sharp knife or Stanley blade.











 Technical Data Sheet
