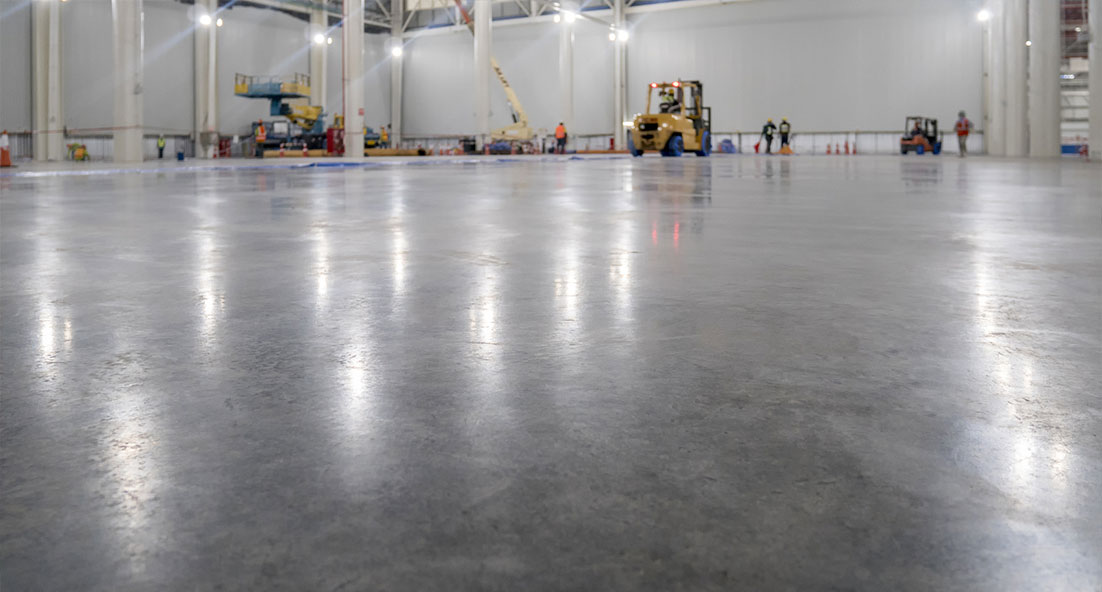
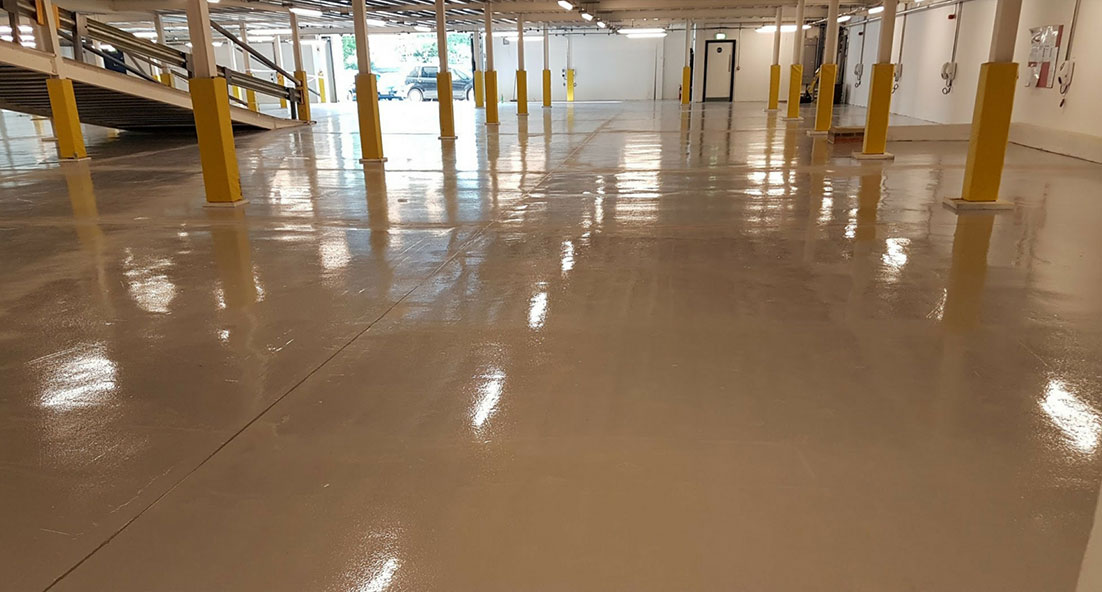
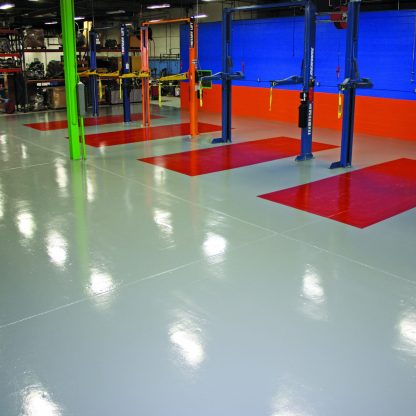
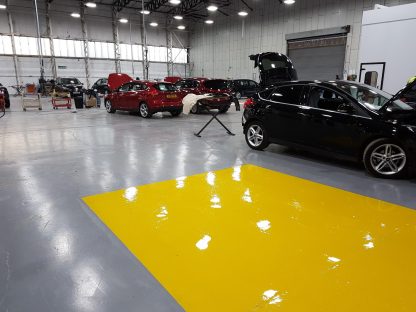
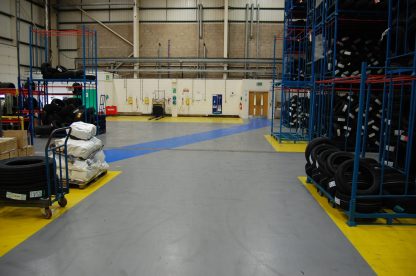
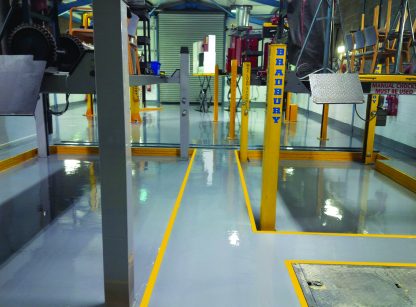
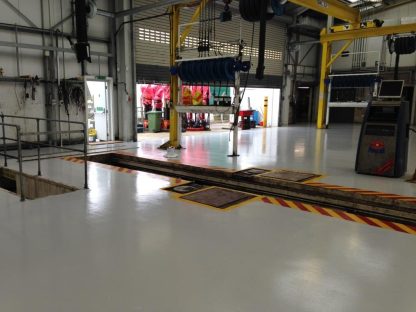
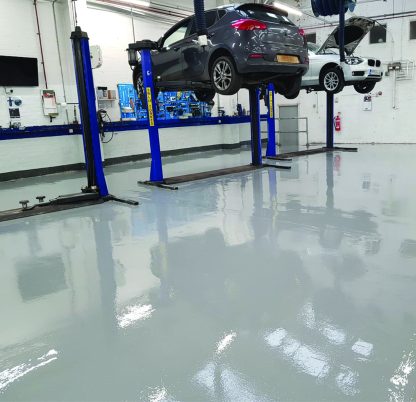
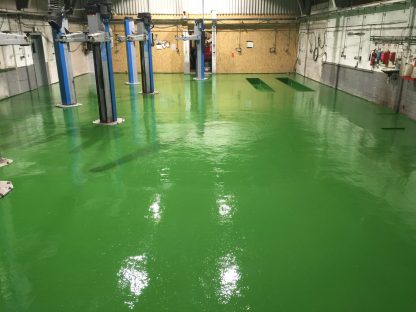
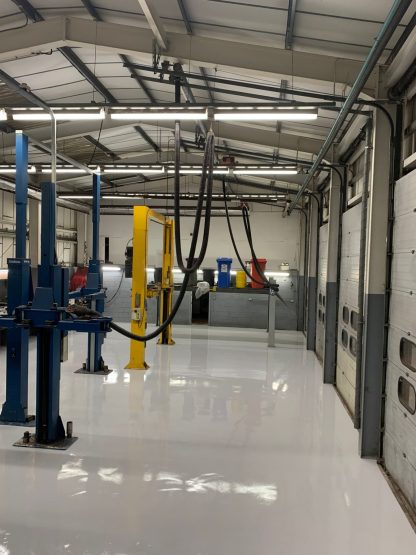
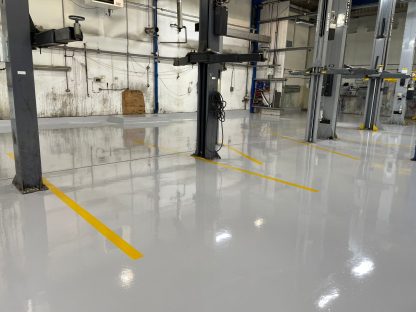
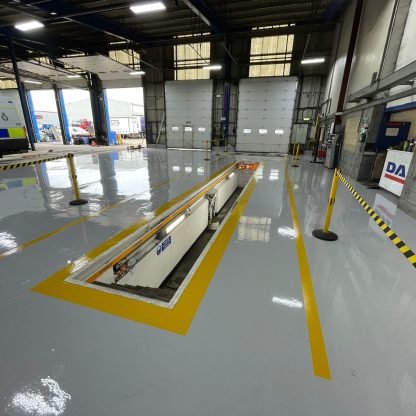
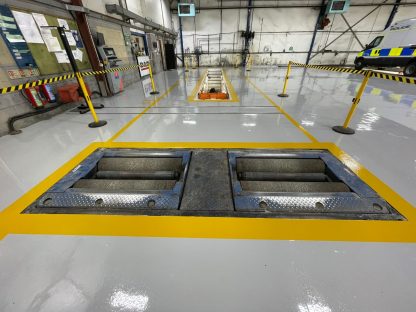
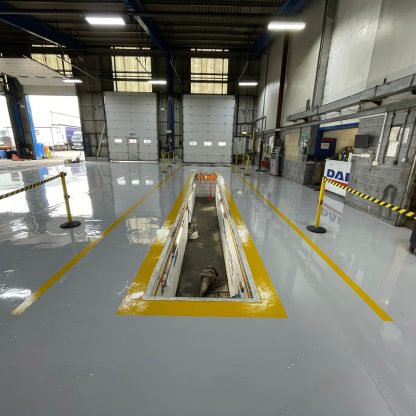
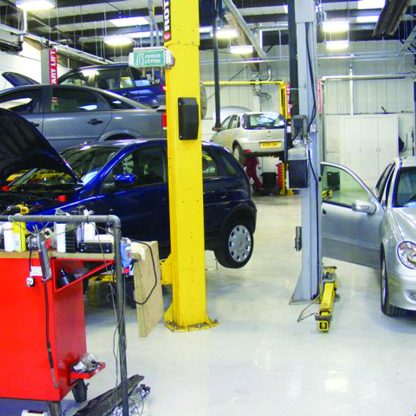
Since 1991, Polycote have laid millions of square metres of Garage Floor Paints in all types of vehicle garage, workshops, showrooms, factories, and production facilities throughout the UK, and we know exactly what is needed to give you a dust free, hard-wearing and long-lasting solutions.
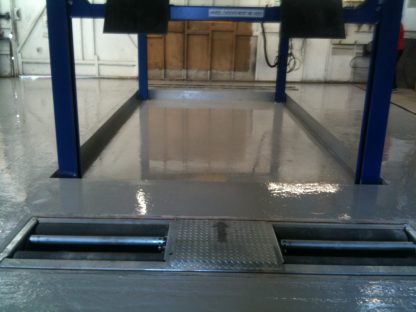
From a single inspection pit right through to a full garage or workshop installation, we specialise in products that are non-toxic, non-taint, totally impervious, and easy-to-clean as well as helping our customers to full comply with VOSA requirements.
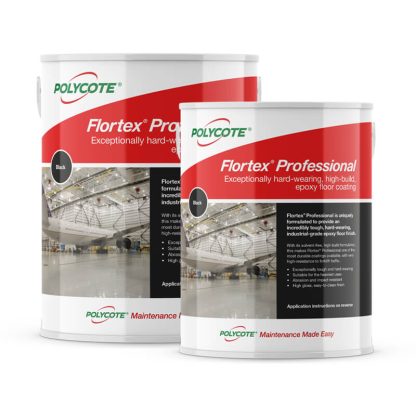
Typical Uses for Flortex Professional Garage Floor Paint:
- Garages
- Workshops
- MOT Bays
- Inspection Pits
- Wash Bays
- Fuel Areas
- Chemical Bunds
- Customer Waiting Areas
- Production Areas
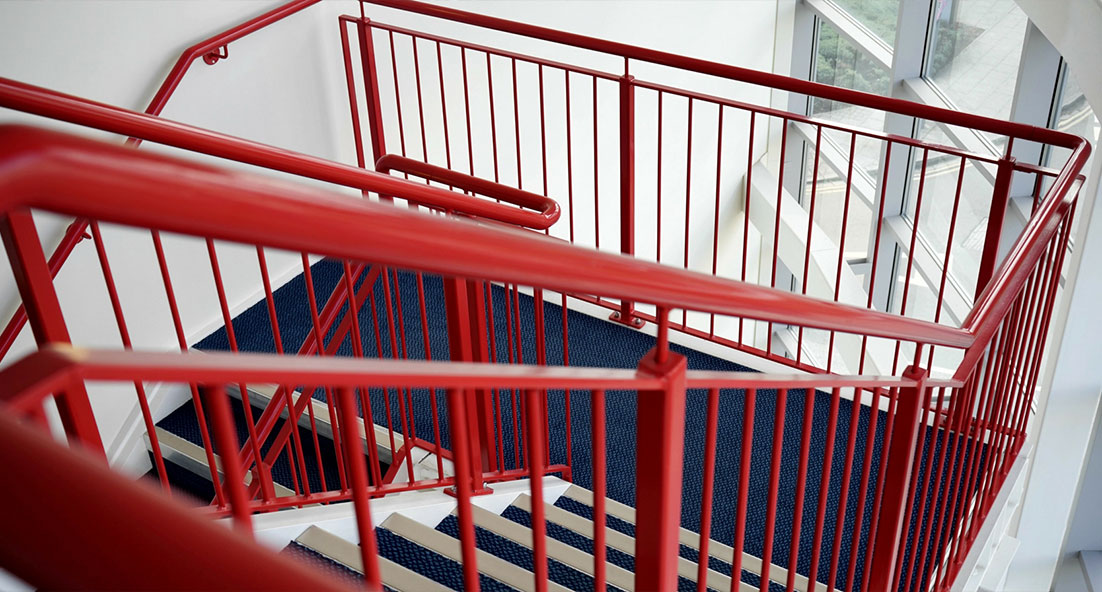
- Ramps & Steps
- Showrooms
- Storage Areas
- Car Parks
We know only too well that the wear and tear of a single mechanic standing in the same area for long periods of time can have as much an effect on a floor as a fleet of forklifts in a large warehouse.
So if you are not too sure which products to use, please feel free to contact our technical experts, who will establish exactly what your issues are along with the maximum amount of downtime you can allow to complete any work. Only then will we advise the best preparation, the best garage floor primer and the best Garage Floor Paint option, to meet YOUR specific needs.
Pot life: 25 mins @ 20°C
Application temperature: 10°C – 25°C
Cure time: Re-coat 16-36 hours @ 20°C
Coverage: 4.2m2 at 3mm thick
Light wheeled traffic – 24 hours
Full chemical resistance – 7 days
Number of parts supplied: 2
Priming required: Prime surfaces with Polycote WD, ZP, DPM, OT or EP Primer
Please consult the Flortex Professional technical data sheet for full technical product data.
Preparation:
Thorough substrate preparation is essential.
Recommended methods are:
Powerfloated concrete – use a Vacuum Assisted Shotblaster to remove weak laitance and provide a surface key for the coating. If this is not possible, chemically etch with Polycote Etch IT then rinse thoroughly and allow to dry before applying Flortex Professional.
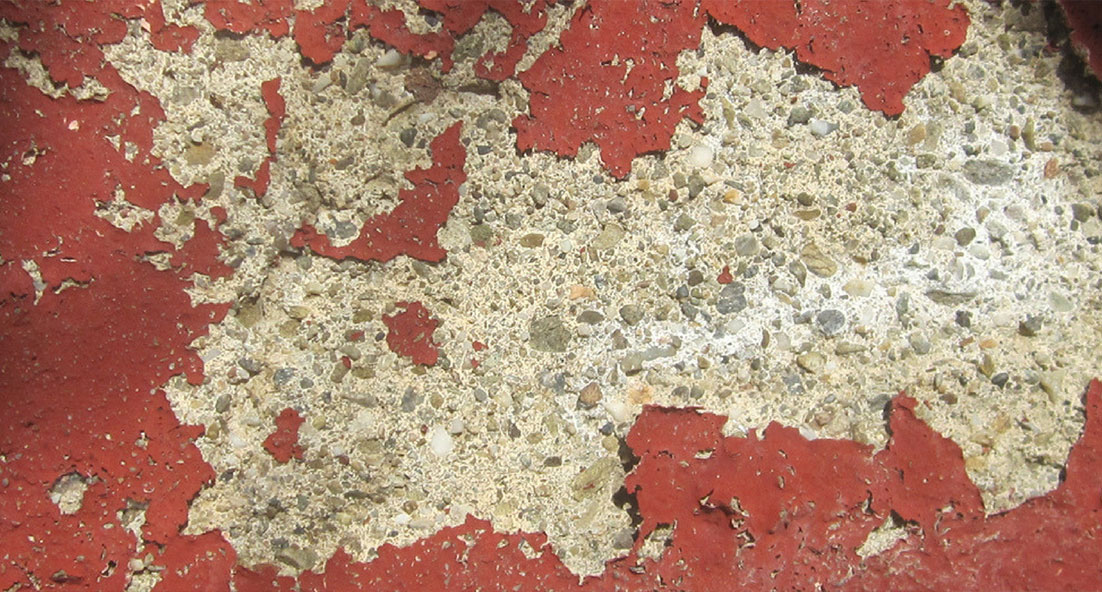
Loose paint or rust – remove, using a Vacuum Assisted Shotblaster, Floor Grinder or equivalent method.
Loose or friable concrete – use a Vacuum Assisted Shot blaster. If this is not possible, chemically clean with Polycote Etch IT then rinse thoroughly and allow to dry.
Oil or grease – use Hot Compressed Air for large areas of contamination. Smaller, isolated deposits may be chemically cleaned with Polycote Degrease IT, then rinsed thoroughly and allowed to dry.
Prior to application of Flortex® Professional a suitable Polycote primer should be applied, depending on the type and condition of the surface.
Please contact Polycote technical helpline, and prepare the surface in accordance with the appropriate primer data sheet.
Mixing:
Having fully prepared the substrate, stir the individual components before mixing together. As pigment may ‘sink’, ensure that the mixing is very thorough and from the bottom of the container. Add Part ‘B’ to Part ‘A’ and thoroughly mix for at least 3 minutes. For best results use a heavy duty slow speed drill with a mixing paddle.Ensure thorough mixing as an unmixed product will result in a poor or non-cure situation.
Application:
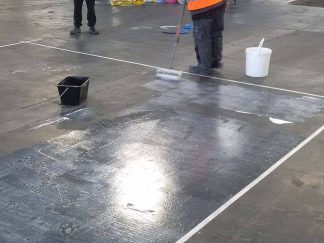
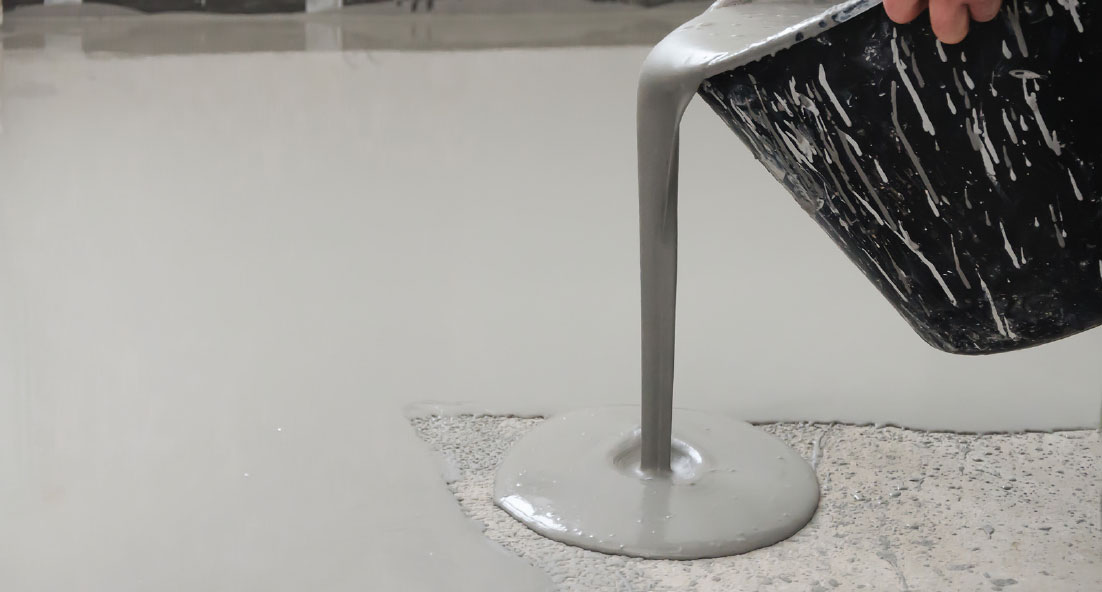
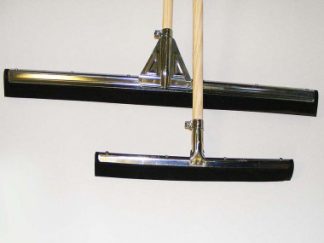
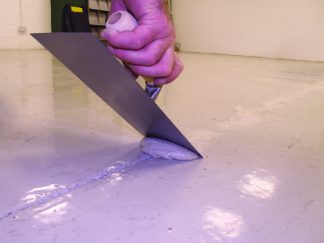
Flortex Professional may be applied by brush, roller or squeegee, depending on the film thickness required.
It is normally applied at a rate of 0.3kg to 0.5kg per 1m2 using a roller or squeegee. When the quantity of resin used exceeds 0.5kg/m2, air bubbles may become trapped within the coating. These are removed using a Polycote Spiked Roller. This must be carried out immediately after application of the resin before curing takes place. Spiked shoes should be worn to avoid disturbing the wet coating.
To achieve a HIGH BUILD or TEXTURED finish – having applied the resin at a rate of 0.5kg to 1.0kg/m2, then gradually sprinkle Kiln Dried Aggregate onto the WET resin at a rate of 2-3kg/m2. The quantity of aggregate required will depend on the thickness of the initial coating. If a textured surface is required, all ‘wet spots’ must be re-covered with aggregate. Please note: spiked rolling is unnecessary for the first coat when using aggregate. Allow first coat to fully cure (preferably 24 hours) before removing all excess aggregate. A final coat of Flortex® Professional should then be applied using a roller or squeegee. The thickness of this coat may be varied depending on the finish required.
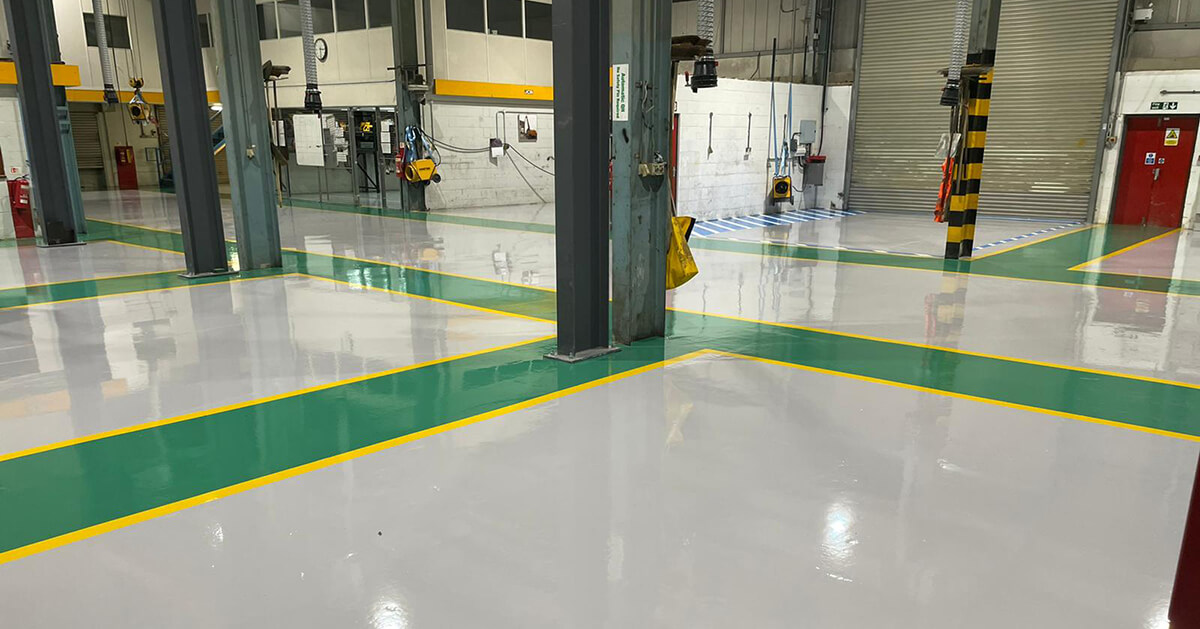
























 Technical Data Sheet