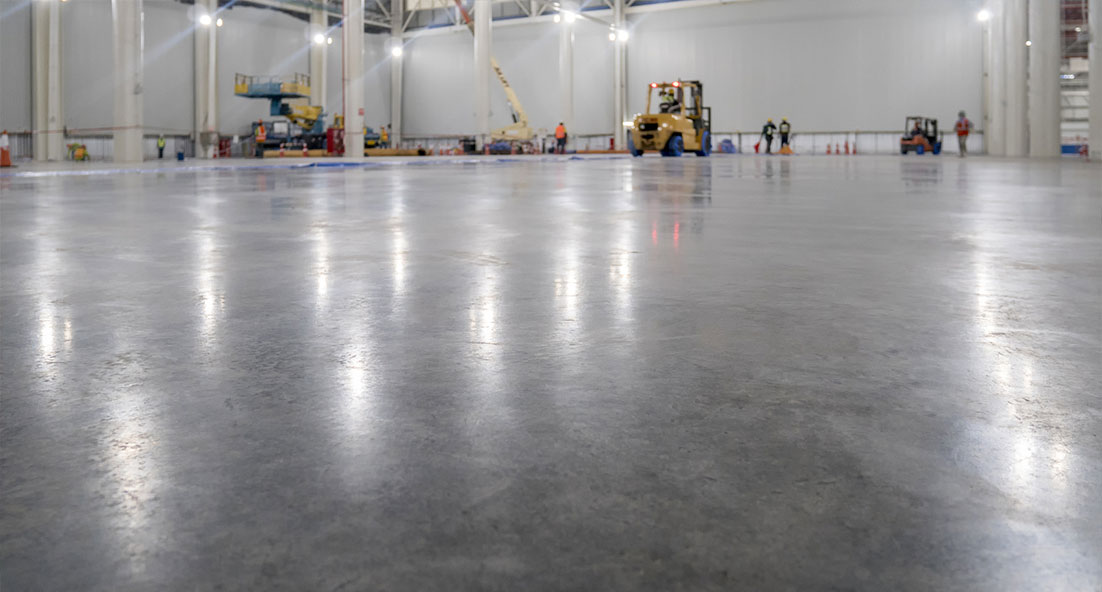
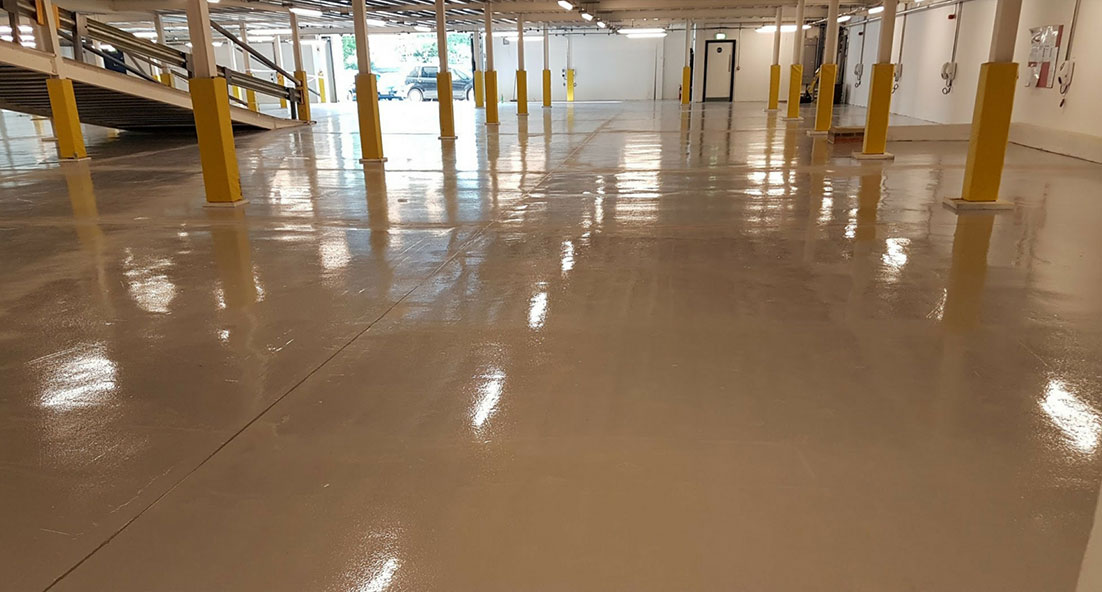
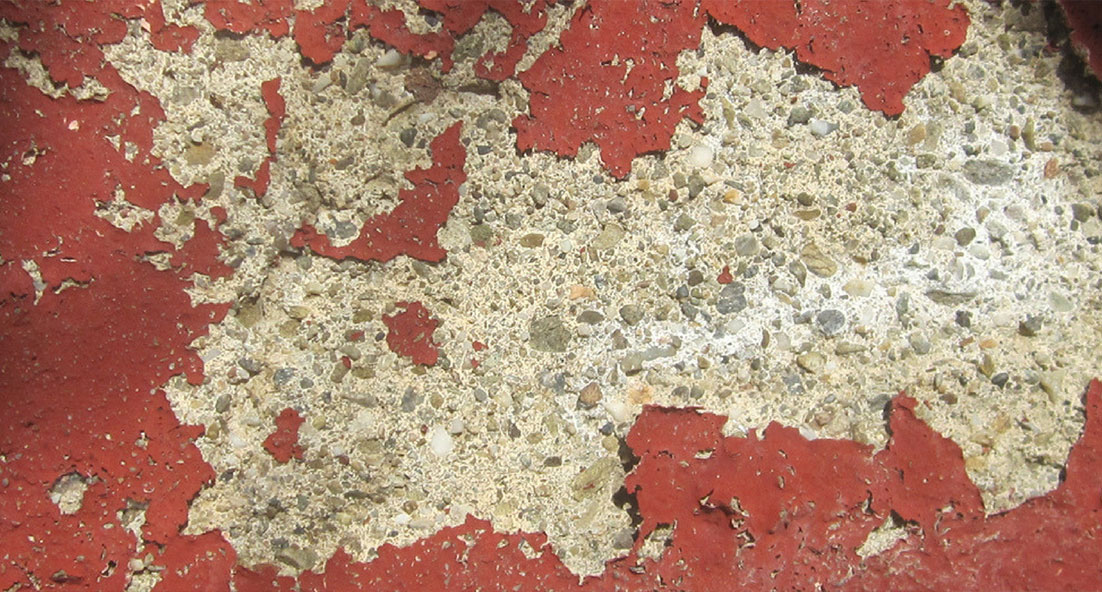
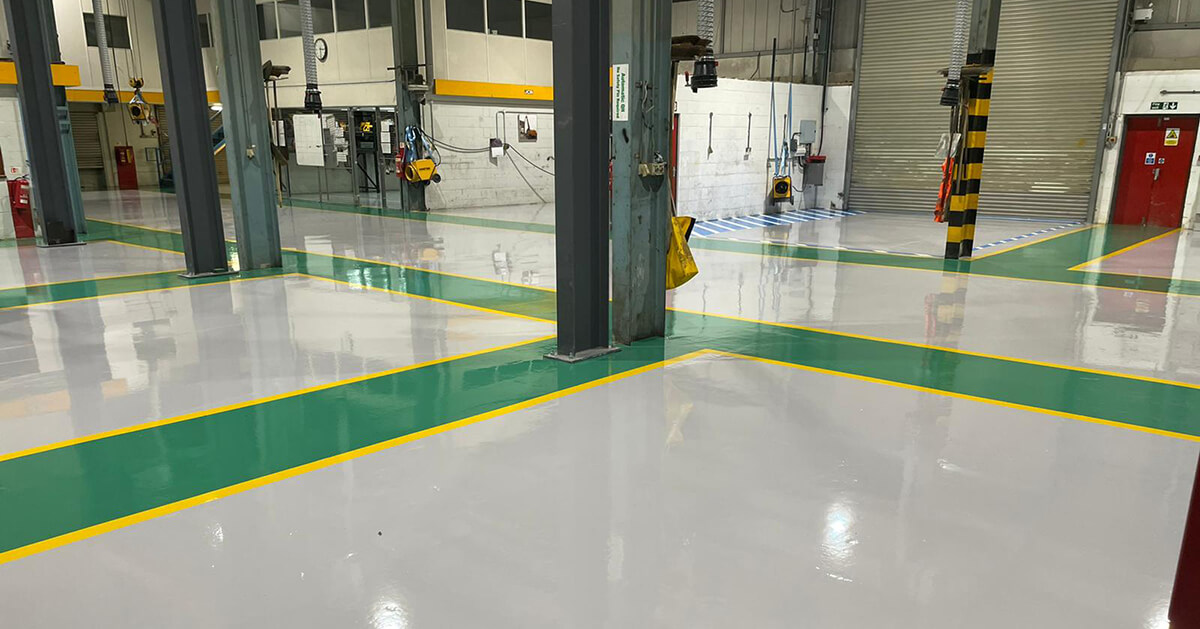
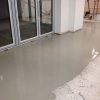
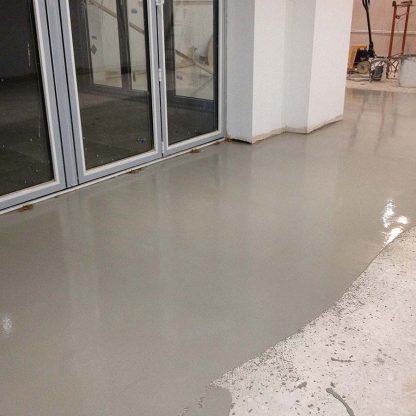
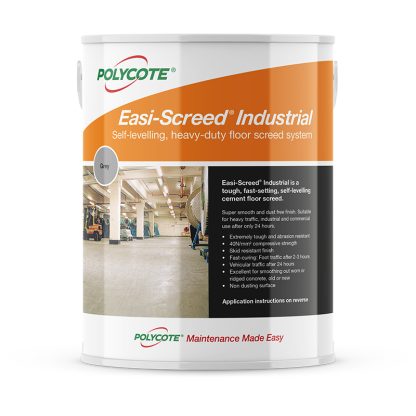
Easi-Screed Industrial is a cementitious self-smoothing industrial floor screed containing graded aggregates and acrylic polymer powder, which is simply mixed with water to provide a durable, heavy duty industrial floor topping with a strong, close tolerance level finish. It is excellent for smoothing out worn or ridged concrete and achieves a strong, non-dusting, close tolerance level finish. A 6mm minimum application thickness is required.
Vehicular traffic 24 hours
Use on:
Old or new concrete, quarry and ceramic tiles, vinyl/lino
Use where:
Internal
Typical industries:
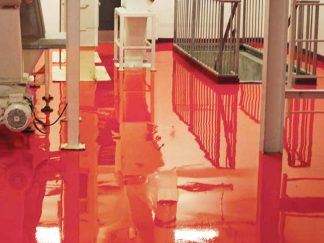
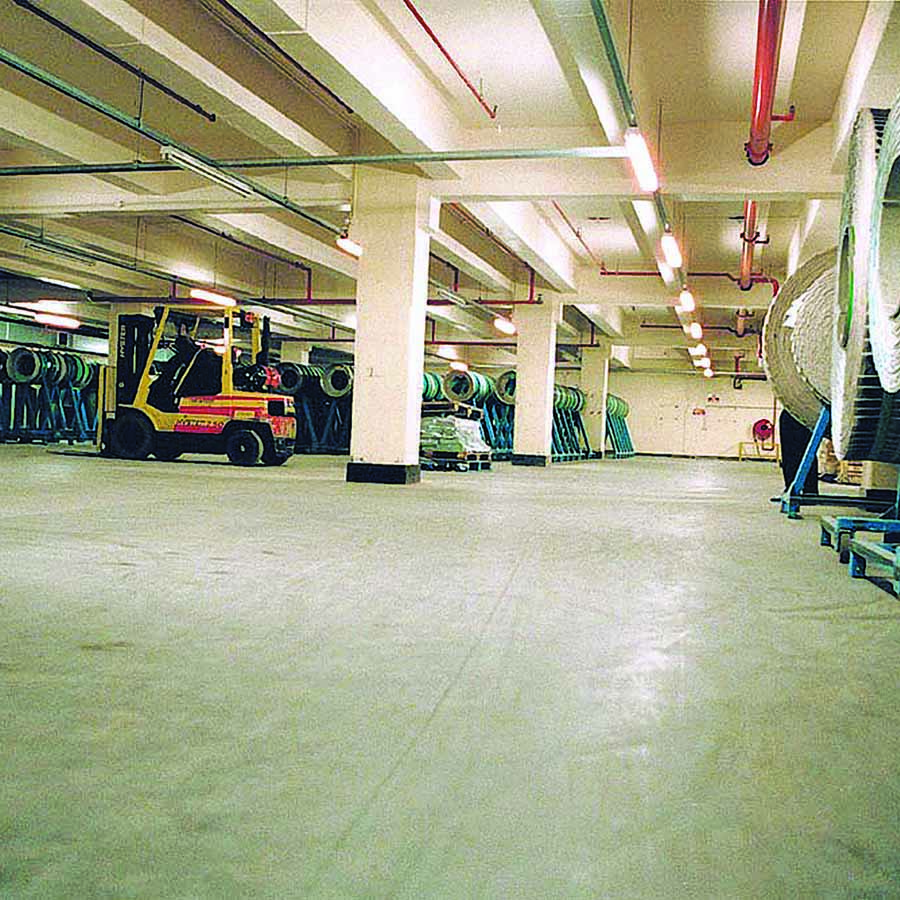
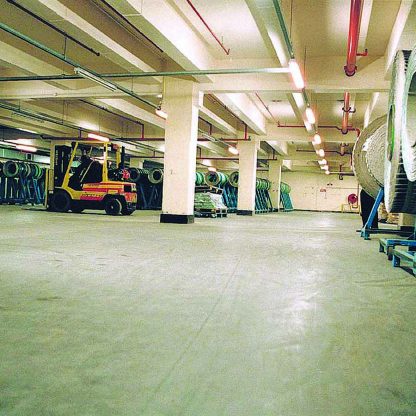
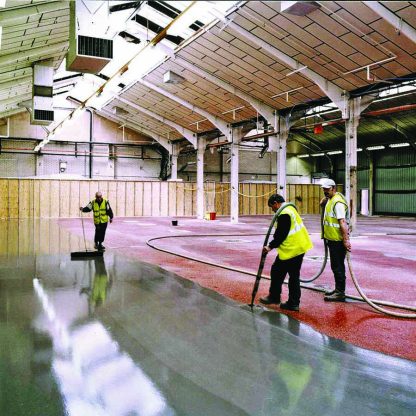
Typical applications include warehouses, factories, workshops, parlours and dairies
Type of job:
Used to level uneven (internal) concrete floors and provides a strong finished floor surface. Ideal for rapid installation and curing. Suitable for pumped or hand-mixed operations
Approximate coverage:
25kg – 2m2 @ 7mm thick
Cure time:
Foot traffic 2-3 hours
Special features:
Heavy duty, abrasion resistant, high compressive strength, non-dusting surface, skid resistant finish, can be over-coated with Polycote Flortex SG or Polycote WD Primer after only 24 hours
Pot life:25 mins @ 20oC
Application temperature:10oC to 20oC
Depth of repair (1 layer):Minimum 6mm application
Fully cured strength:1 day – 20N/mm2
7 days – 30N/mm2
28 days – 40N/mm2
Number of parts supplied:1
Priming required:Yes. Use Easi-Screed Primer. Apply the screed when the primer turns clear
Please consult the technical data sheet for full technical product data.
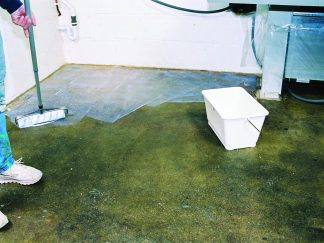
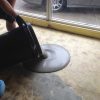
Preparation:Thorough substrate preparation is essential.Follow recommendations given on the relevant primer Data Sheet.See ‘Priming’ below for the primer appropriate to your application.
Priming:Concrete or sand and cement screeds – prime with Polycote Easi-Screed Primer.Non-absorbent surfaces – prime with Polycote WD Primer.Oily/contaminated surfaces – prime with Polycote OT PrimerDamaged DPM / Rising damp issues – prime with Polycote DPM PrimerPlease refer to relevant Data Sheets for preparation and priming methods.
Mixing:Measure 4.5L of clean water into a suitable sized bucket.
Gradually add the entire 25kg quantity of powder whilst mixing with a heavy duty slow speed drill and mixing paddle.Mix for at least one minute to allow the additives to dissolve and produce a homogenous mix.Do not mix more than can be applied in 25 minutes. Do not add excess water.
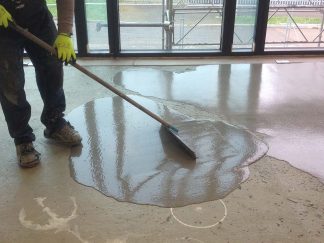
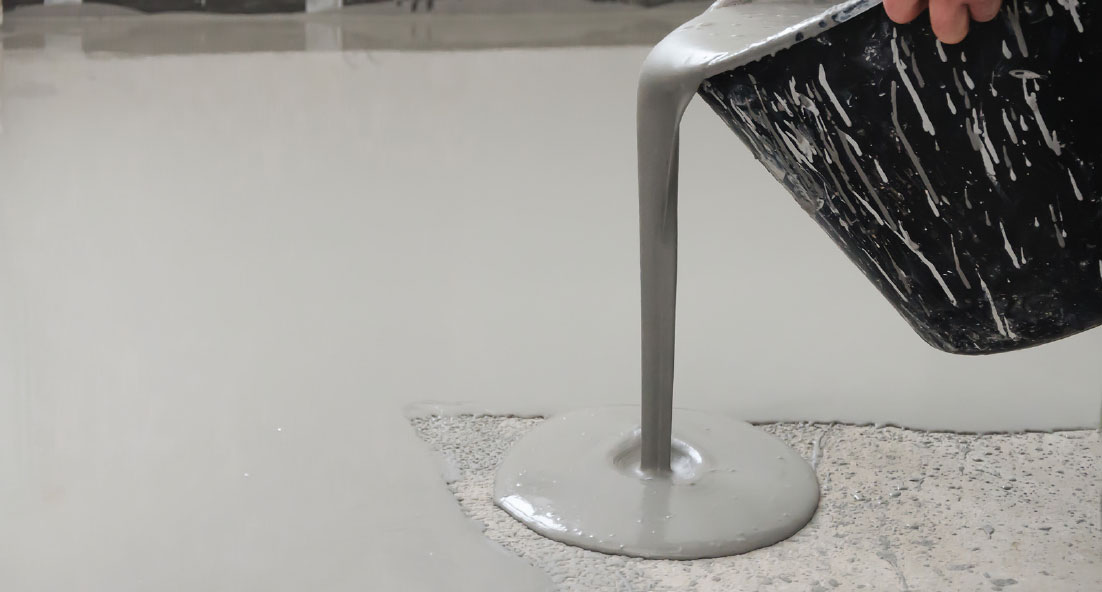
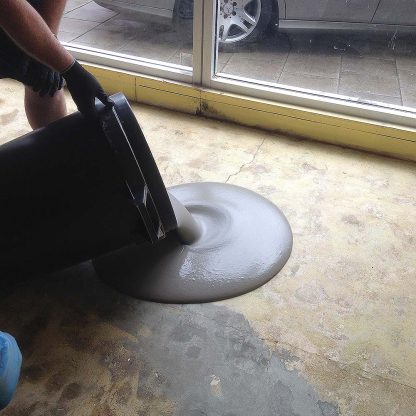
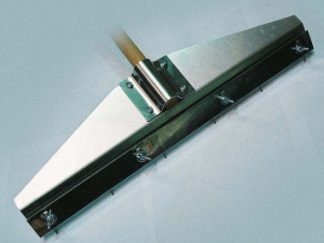
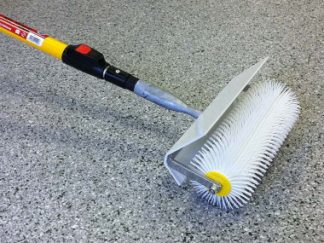
Starting at the furthest corner from the exit pour the material evenly onto the floor to the required thickness and allow the material to start levelling.The use of depth adjustable floats or a pinned/notched leveller is recommended to assist in spreading the screed to a constant thickness.A spiked roller should be used immediately over the freshly poured material to eliminate any bubbles trapped within the screed. The next mix of material must be rapidly produced and poured along the wet edge of the material as well as across the exposed floor.Each application should be laid within 20 minutes of the area adjoining in order to blend evenly into the edge of the previously laid material. This can be helped by gently trowelling along the joint.Once the workable time has been exceeded it is not possible for the new material to be blended into previously applied material. Therefore the floor topping should be applied to the entire area in one continuous operation.Warning: 1) If the product is not spike rolled immediately and the screed begin to cure, roller spike marks will remain visible 2) Failure to disperse the air bubbles by spike rolling may result in a lesser impervious finish.3) Do not add excess water



 Technical Data Sheet