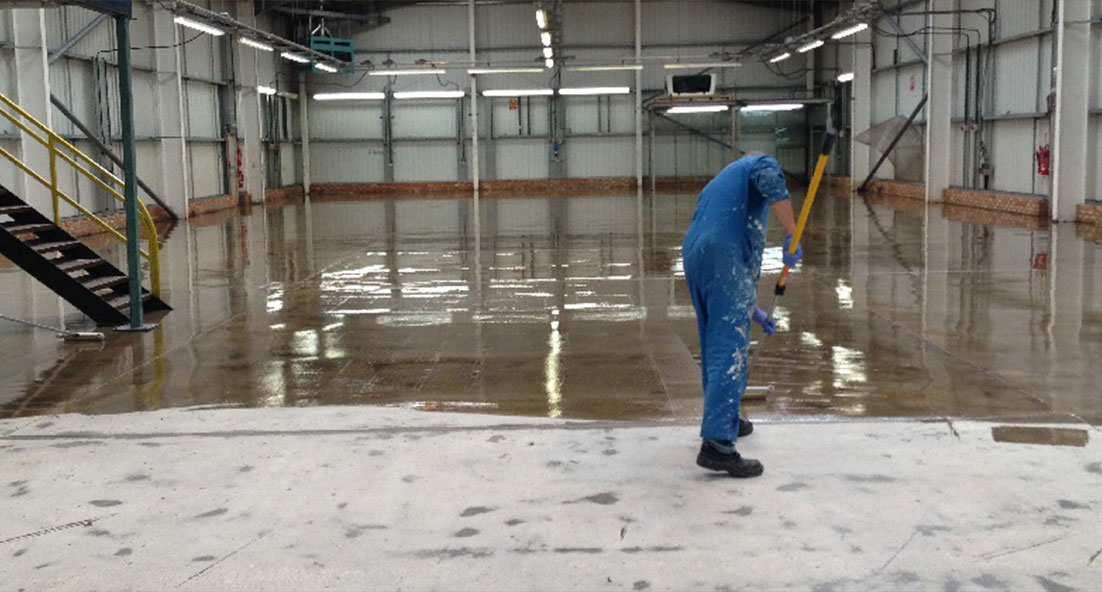
Dusty concrete floors are one of the most common problems within both the domestic and industrial sectors. When attempting to seal such a surface, the most important thing as always is preparation. If you don’t remove the loose material from the surface, you might as well paint the sand on the sea shore and wonder why it’s all coming up. So here’s what to do??
Step 1 – Preparation
Remove all loose / friable material as much as possible. The best way of doing this is of course dependent upon the size of the area and/or the severity of the problem. Apart from the using methods of brush / vacuum, you may well decide to use Polycote Etch IT, a chemical formulated to help loosen and key the surface or indeed to mechanically abrade the surface using machinery such as diamond grinders, STR machine or, for larger areas, a vacuum assisted shot blaster.
You may of course be one of the many that finds the more you brush the more dust you create and realise that the concrete really is very poor from top to bottom…! In this case it is important to simply remove as much as you can but also not remove so much as to cause level issues.
Step 2 – Calculation
I think this next point is really the most important…
…when you have a dusty loose floor – NEVER even try to get the coverage’s suggested on the side of the tin. Every manufacturer will put suggested coverage rates and they will all theoretically be correct. However, they will only allow for a simple seal to the surface and this will not be sufficient quantity to allow any penetration INTO the substrate. What you will therefore find is that you are simply apply a skin of about 30-50 microns, and to highlight a specific point here – this is about one twentieth of one millimetre thick. In other words, a floor sealer will do nothing when applied like this to harden the loose substrate!
Frankly, no-one can give you a true coverage that you will achieve on your floor – no matter what you use. It simply depends upon how porous the surface is and the level of finish ultimately required.
The next most important ‘thing’ to realise is that the VERY FIRST coat is THE MOST IMPORTANT COAT!! If you simply apply a thin skin over the surface without the necessary penetration, you can almost guarantee that it will simply lift off (due to the fact that the substrate is poor) and also to realise that you will then forever be wasting your time as no matter what you apply over the top, this thin sealed layer is preventing anything from penetrating the substrate in order to get a ‘good’ grip. Should such a coating have already been applied, then you will have top get ‘rid’ of it if you do indeed wish to solve the problem of dusty / loose concrete.
Step 3 – Floor Sealer Selection
There are many sealers available, single and twin packs, water/solvent based and also solvent free. It is difficult to say quickly what would be the best to use but in a nut shell, here are some suggestions:
If the floor is damp, especially if you have acid etched, used a water based product such as
Flortex Clearseal (a single pack acrylic), or for the industrial users, Flortex SG / Polycote WD Primer.
If the floor is dry, then you can of course use any of the above products. However, Flortex PU is a very strong clear single pack polyurethane. This is very easy to use and will offer an excellent sealed surface.
Flortex EP Primer is an excellent low viscosity 100% solids twin pack epoxy that has been designed to penetrate and cure well into the surface and can basically turn a poor dusty surface into a’a form of’ an epoxy screed!
If the area is also suffering from oil / chemical contamination, this is an altogether different story and the ONLY product that will work in these circumstances will be Polycote OT Primer
Should you have any rising damp issues, make sure you use Polycote DPM Primer as this is the ONLY one sufficient to withstand underlying water pressures.
Step 4 – Completion
The final point I would like to make is with regard to coverages / number of coats. Please remember that the whole purpose of this exercise is to seal and harden a loose / dusty floor. Depending upon the product used, you may well have to use two or even three coats in order to completely seal the surface. You may find that even then, whilst the floor in general is nice and glossy, in some areas it may still look patchy. Assuming you haven’t missed a bit of course, this will serve to highlight how desperately porous these specific areas have been and how necessary it was to complete the job in the first place! Should you wish to achieve an even aesthetically pleasing finish, well you simply need a FOURTH coat.
Should people ring to complain that the product has hardly covered any area, there is of course nothing we can do about this other than sympathize! The only thing we can say is that at least it has penetrated well and that this will indeed achieve what they NEED – which is to seal and strengthen their floor. On a more positive note we can also point out that after trying many many other unsuitable products with little to no success, they will at least now be able to get on with a happy, dry, dust free life.
Remember…
… the extra small cost of today will soon be long forgotten when enjoying the long term benefits, which will not only include the overall saving of money but also of things far more important such as time, inconvenience and effort!!
