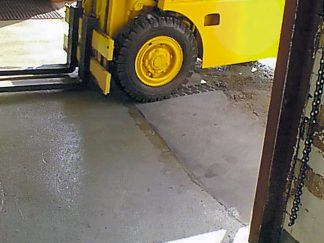
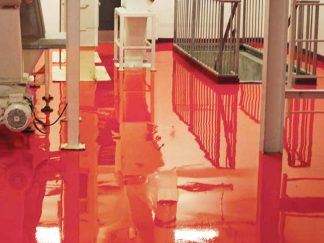
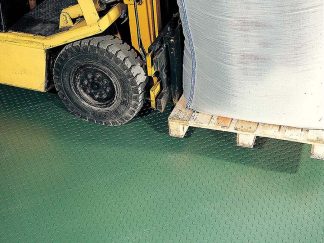
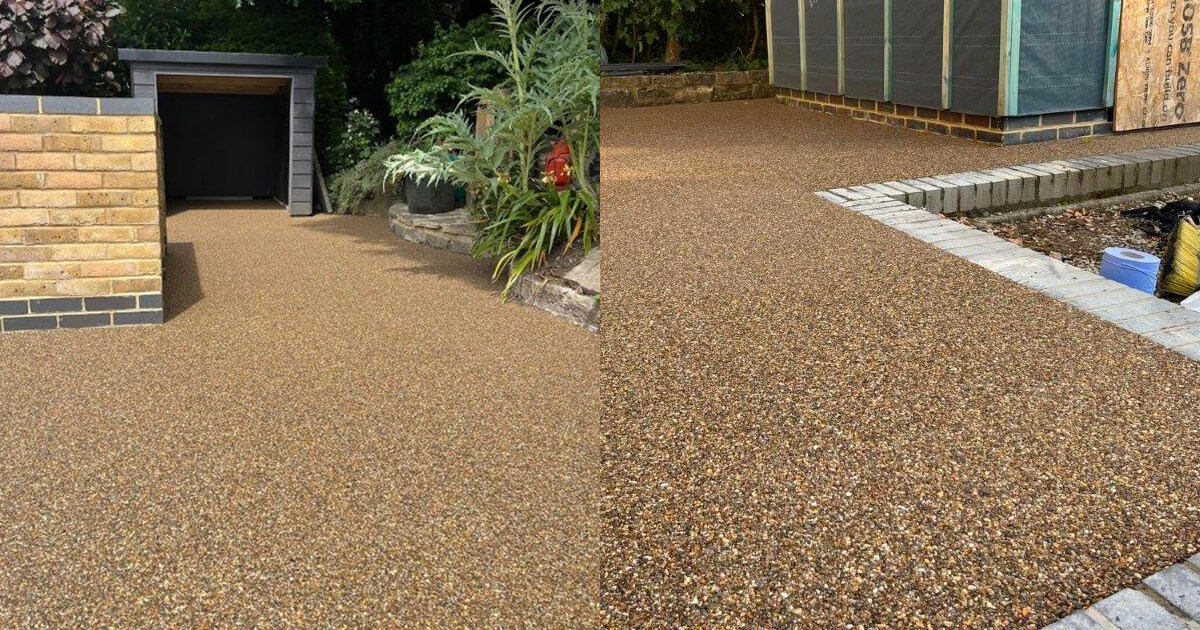
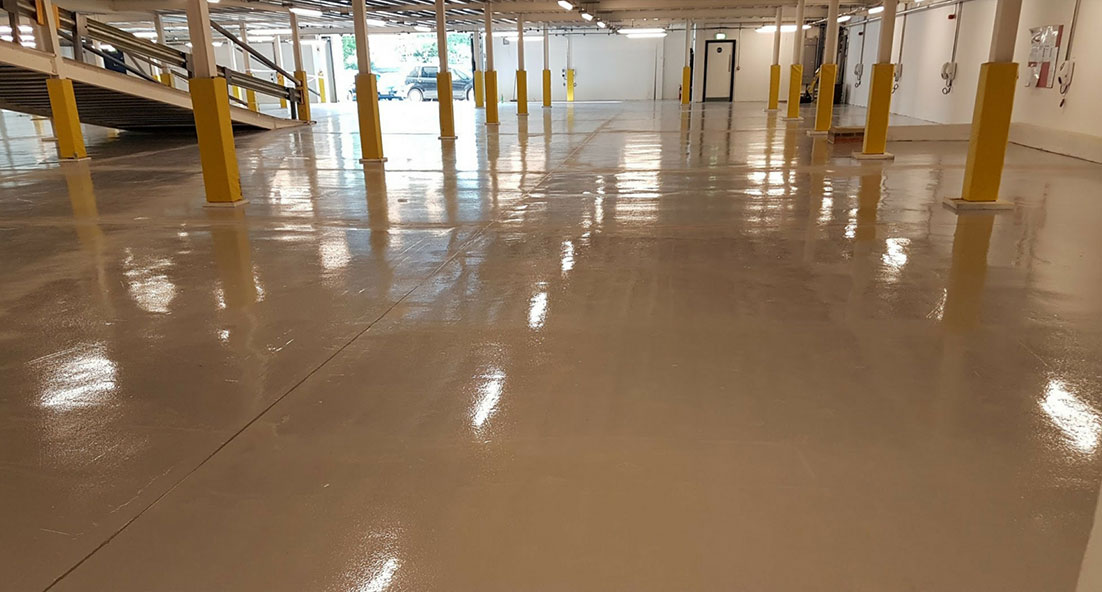
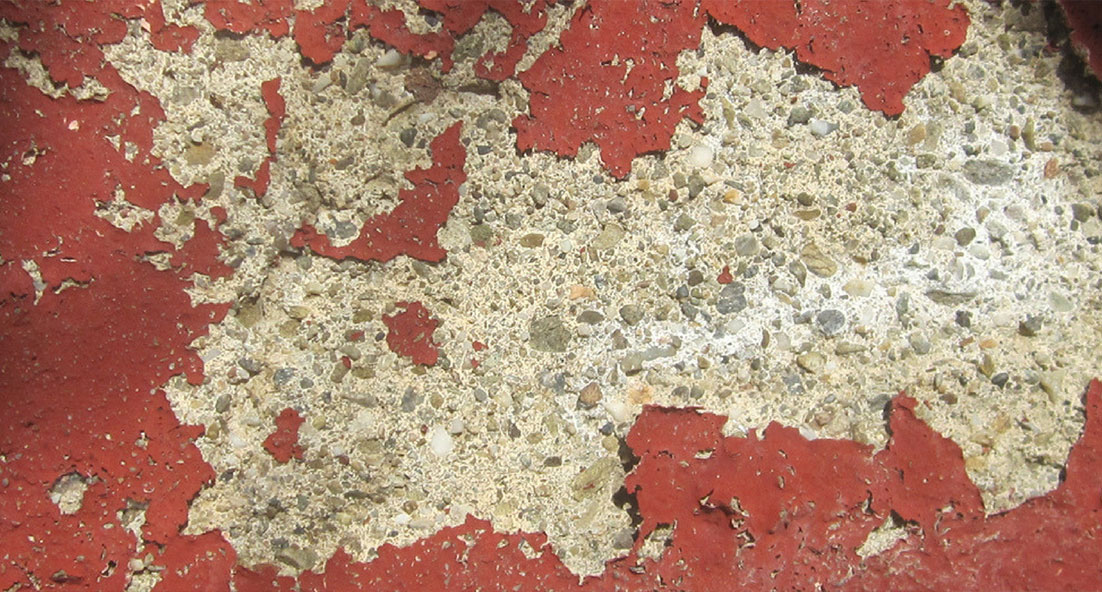
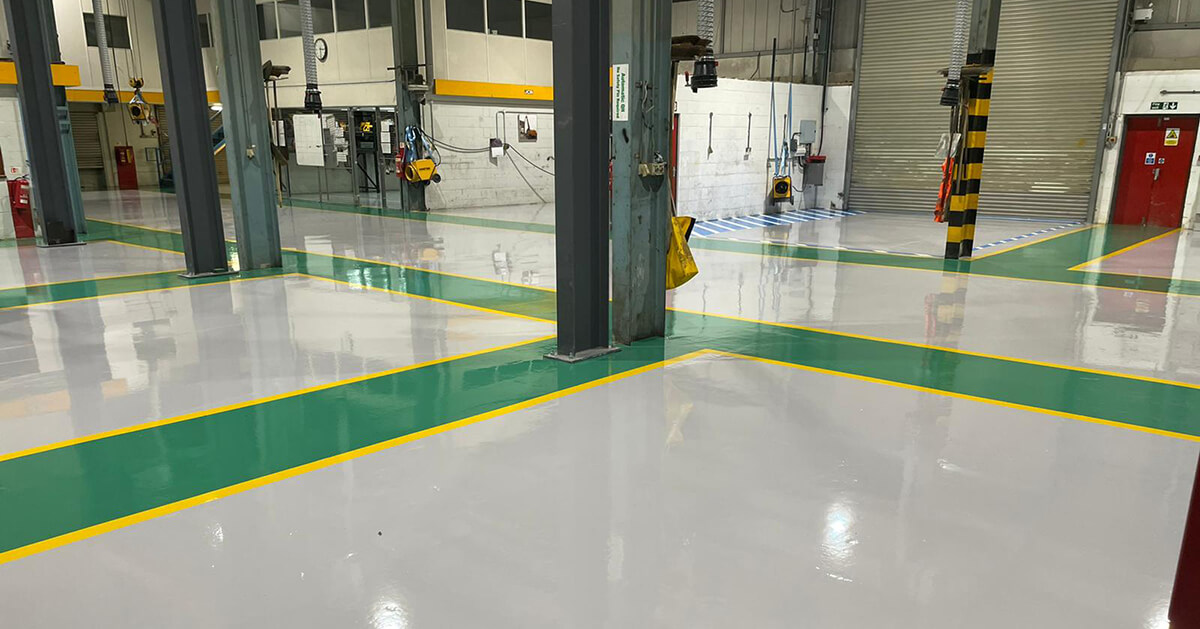
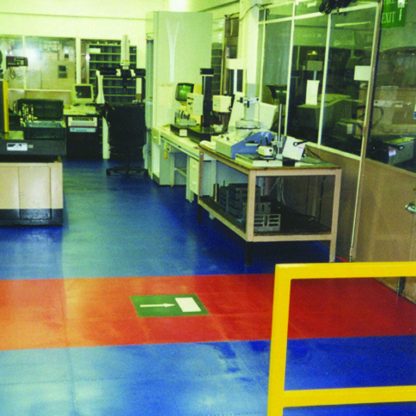
Duralok will transform damp, contaminated, damaged areas into clean, modern and attractive floors with amazing durability and chemical resistance – with virtually NO preparation or tools, NO special skills and NO mess or disruption to business activity!
Advantages all the way! No other flooring system offers so many plus points – quick, clean, easy fitting together with the fact that you can pick it up and take it with you when you move!!
Reduces damage to falling tools and equipment
Protects subfloor against impact and vibration
Dust-free easy-to-clean surface
10mm thick tiles also available for areas of exceedingly high or heavy usage
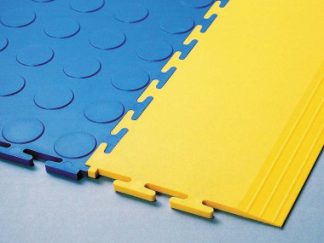
Tile size: 500mm x 500mm (Including Interlocking Lugs). Coverage: 10 tiles will cover 2.5sq.m.
Thickness: 7mm
Supplied in single packs of 10 tiles. Prices shown are per pack.
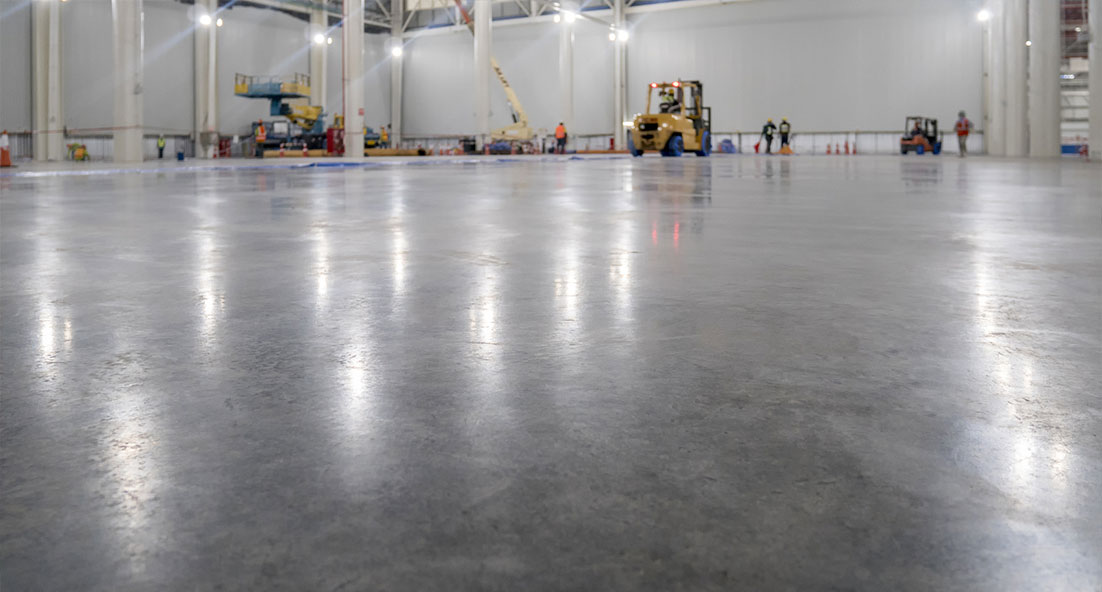
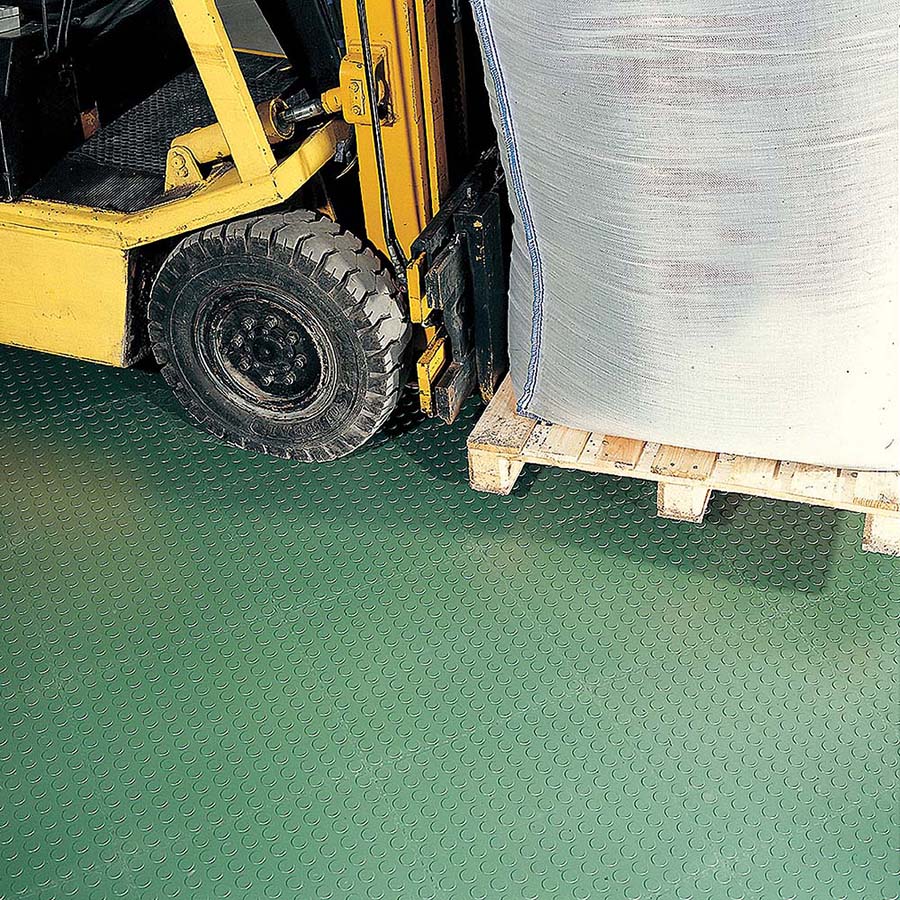
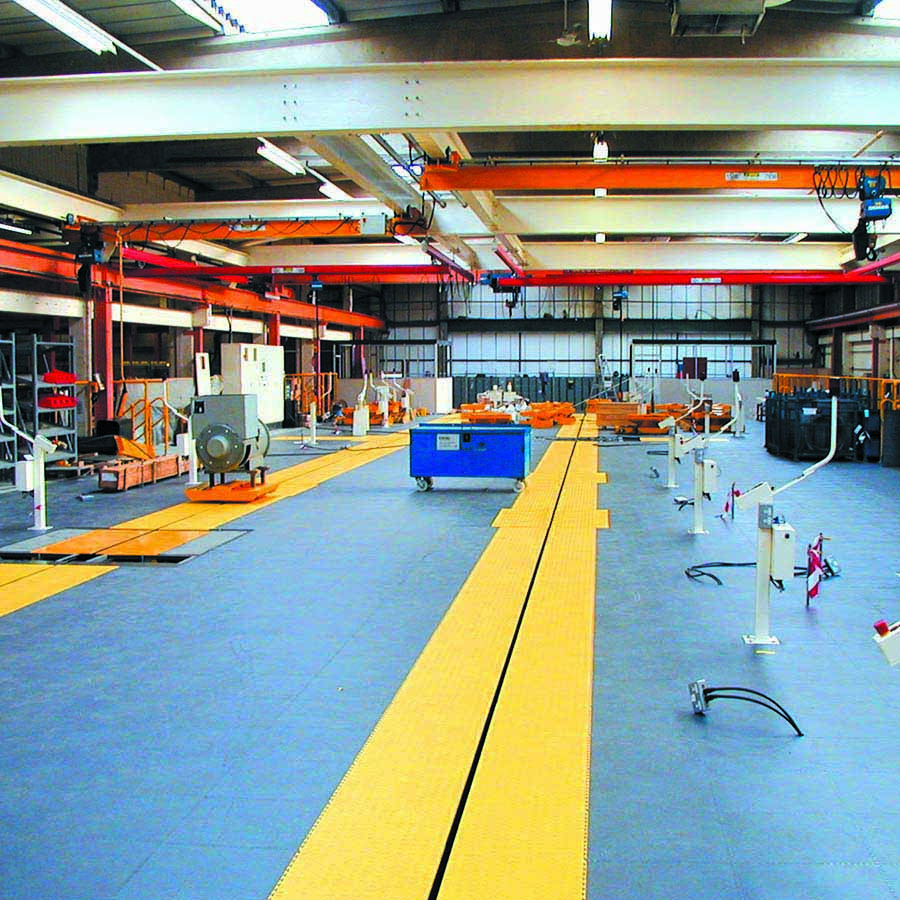
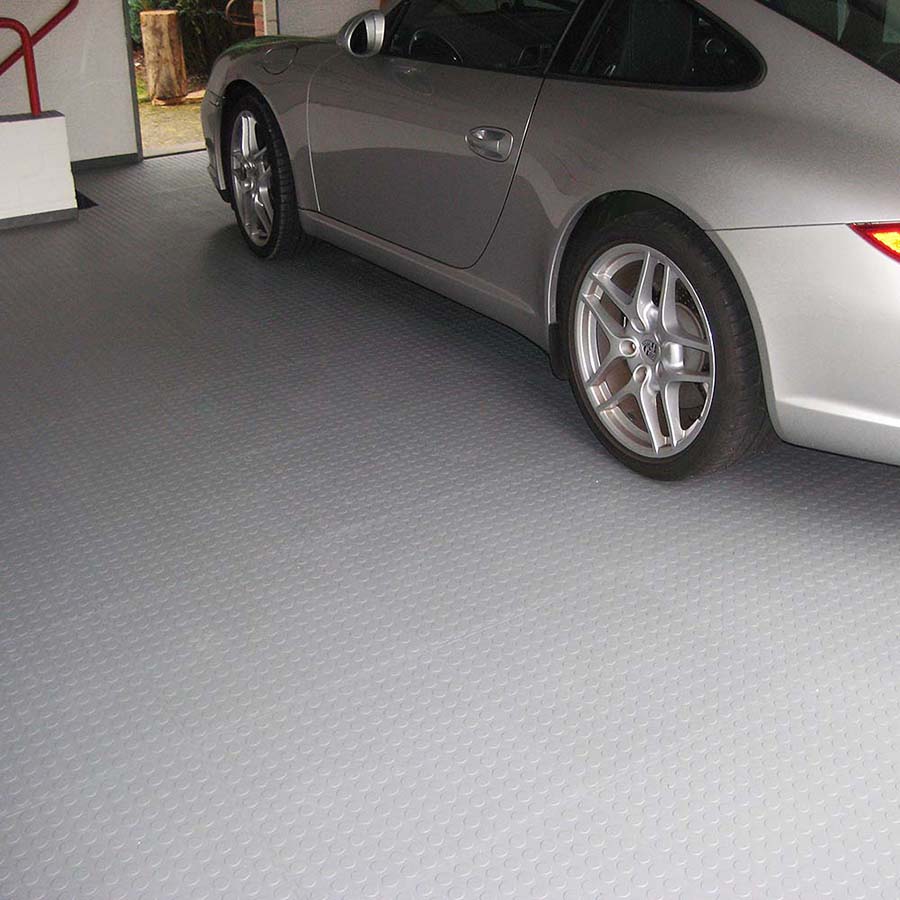
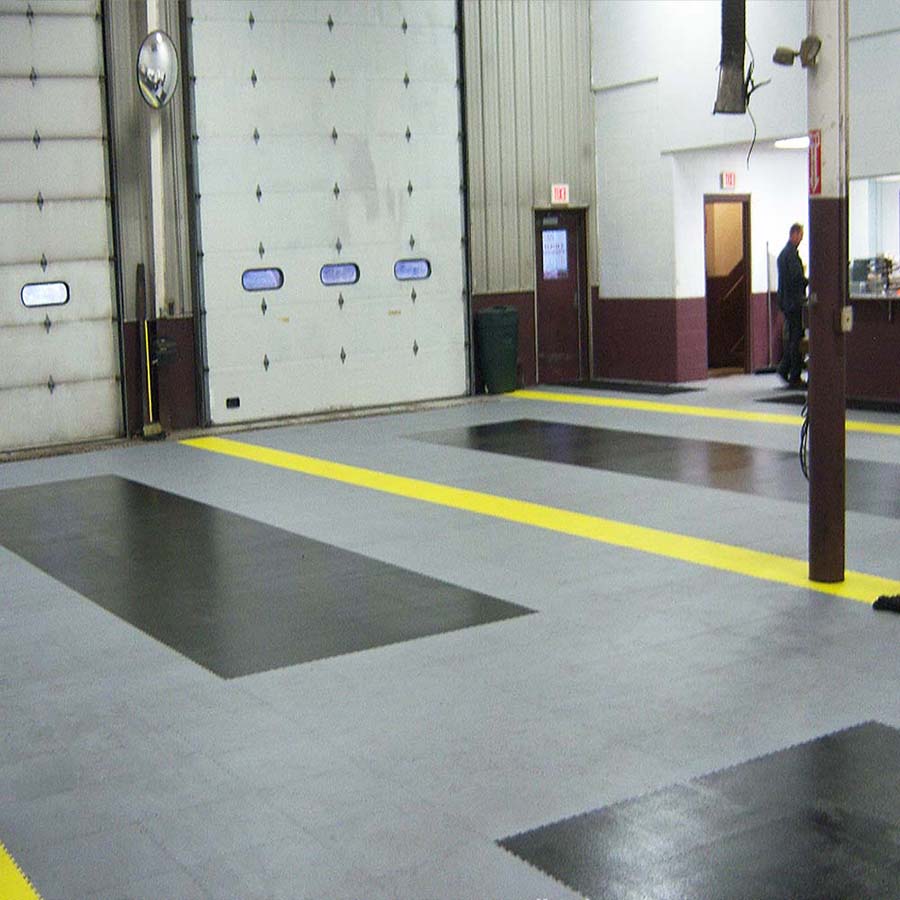
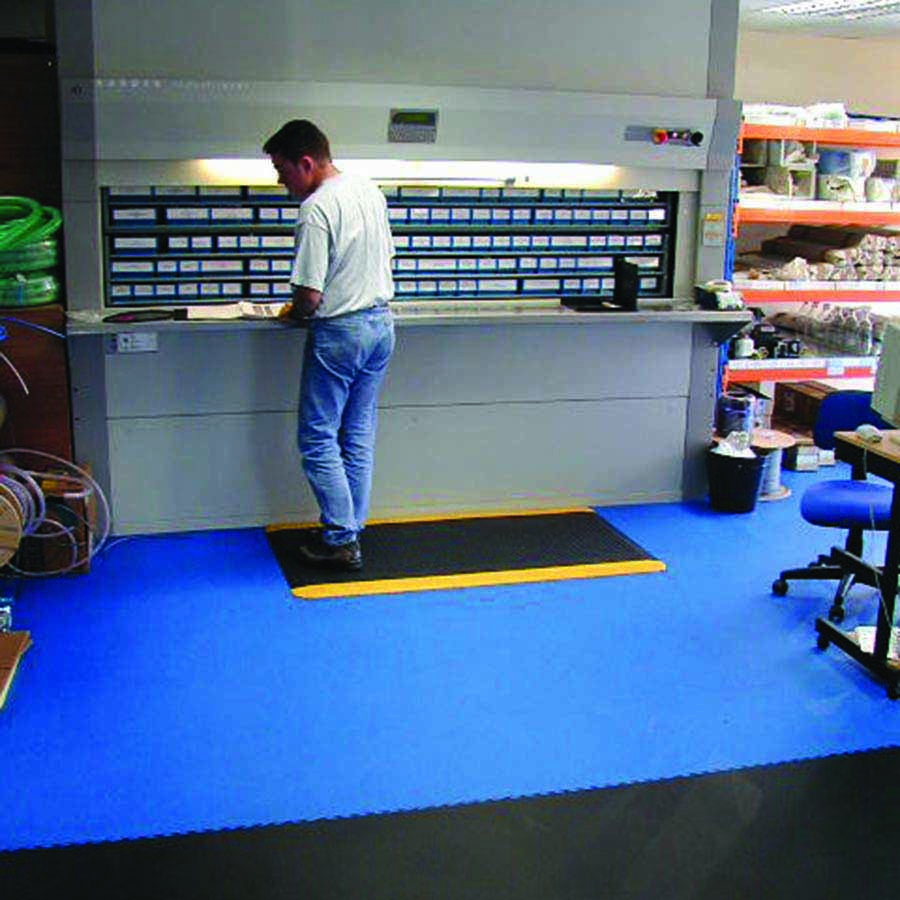
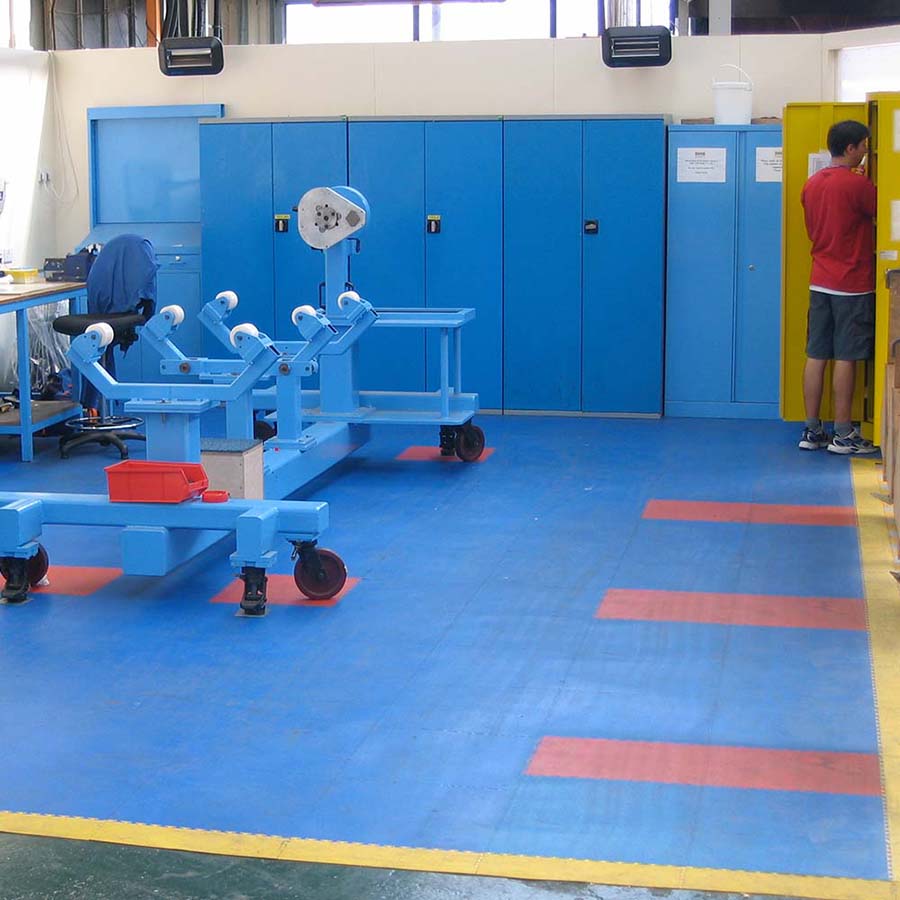
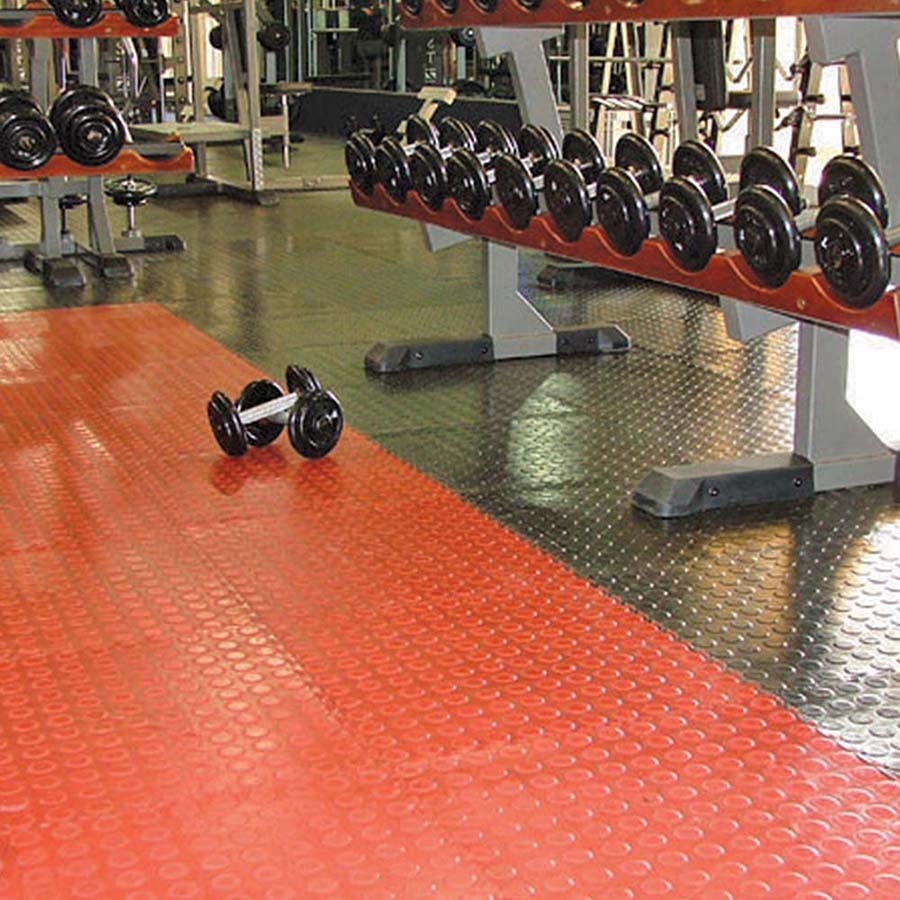
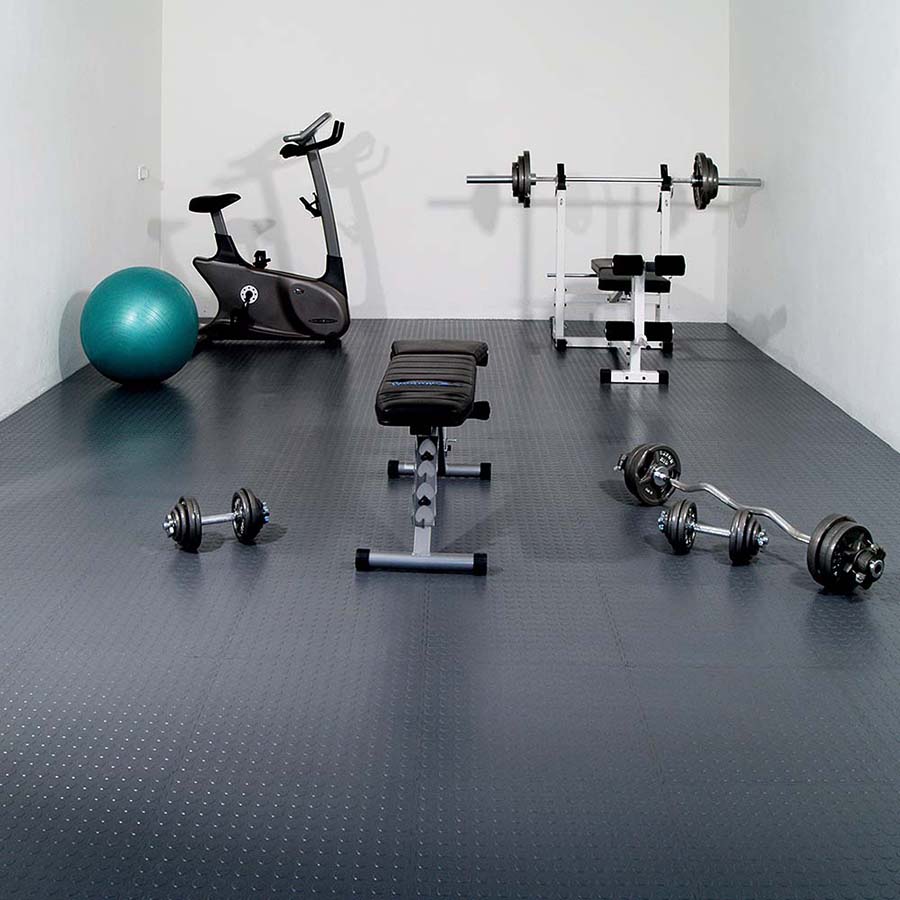
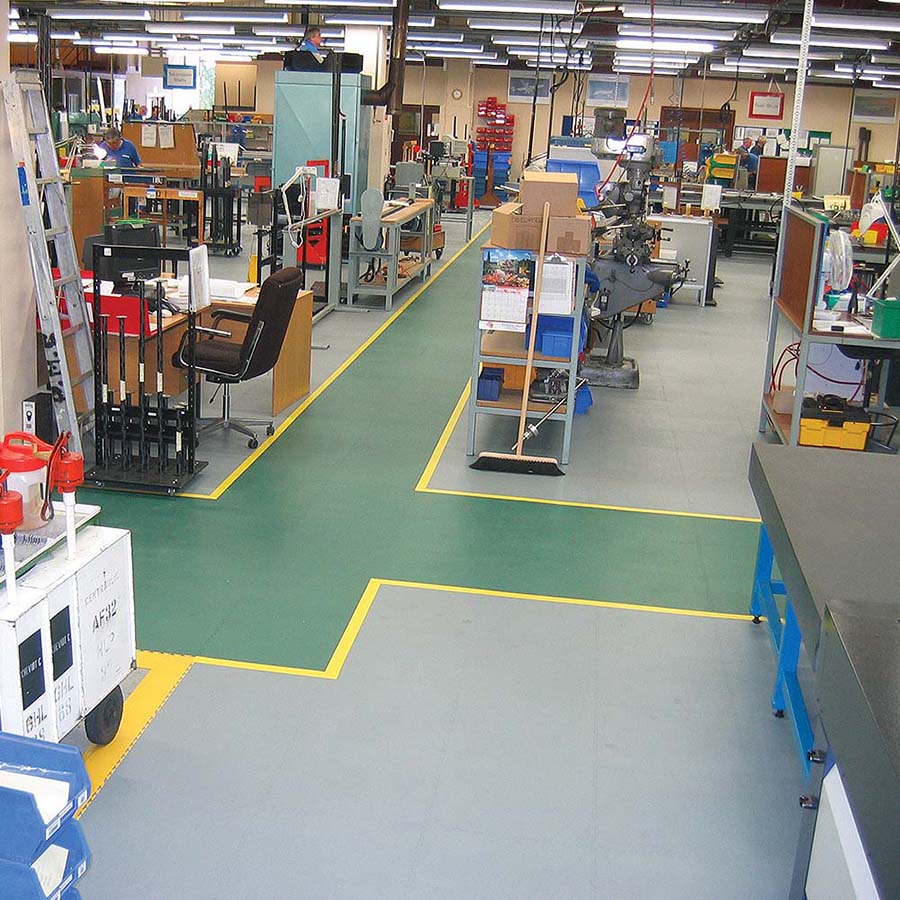
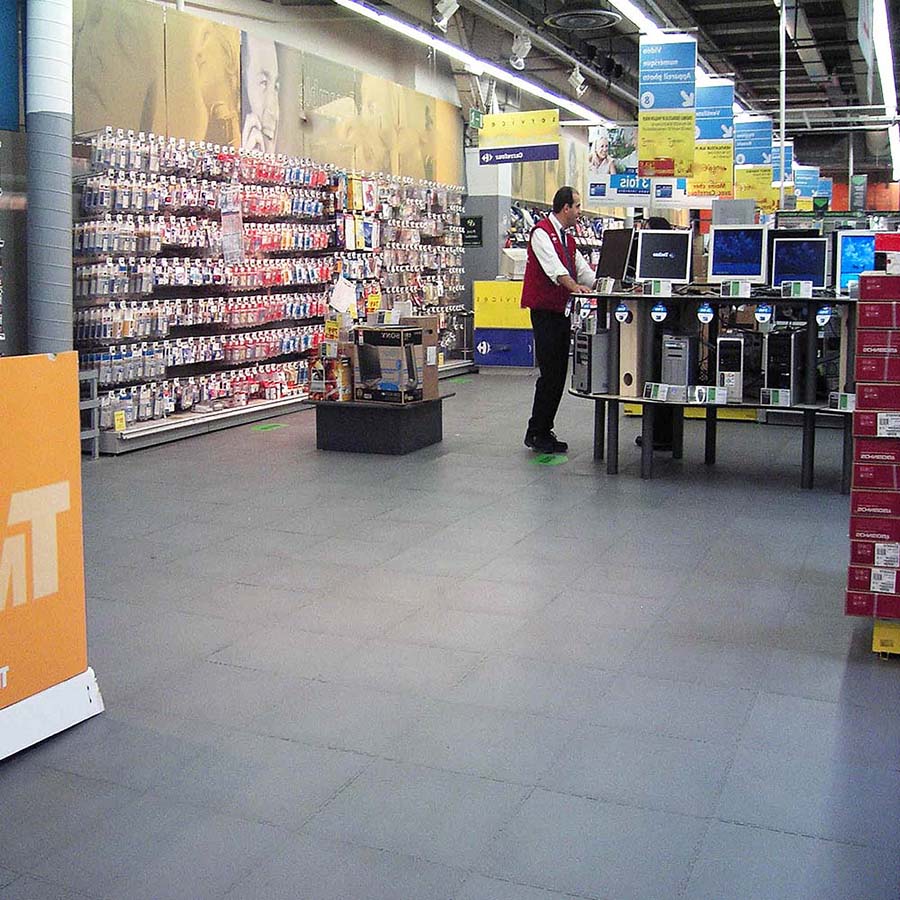
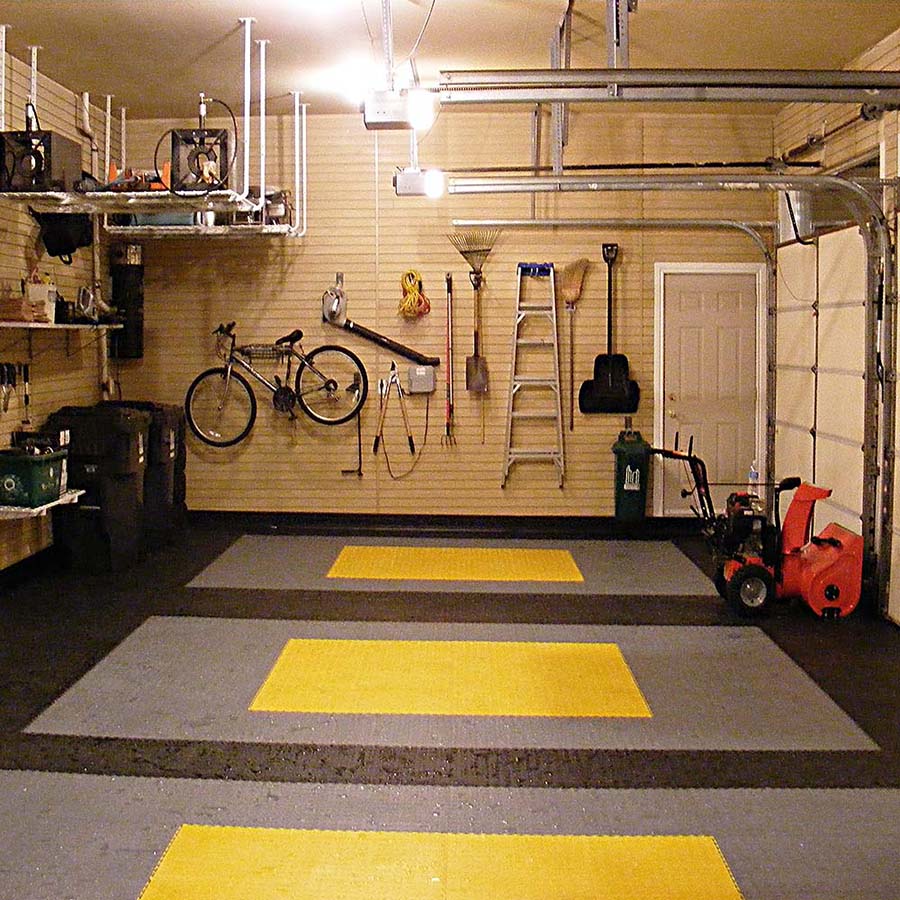
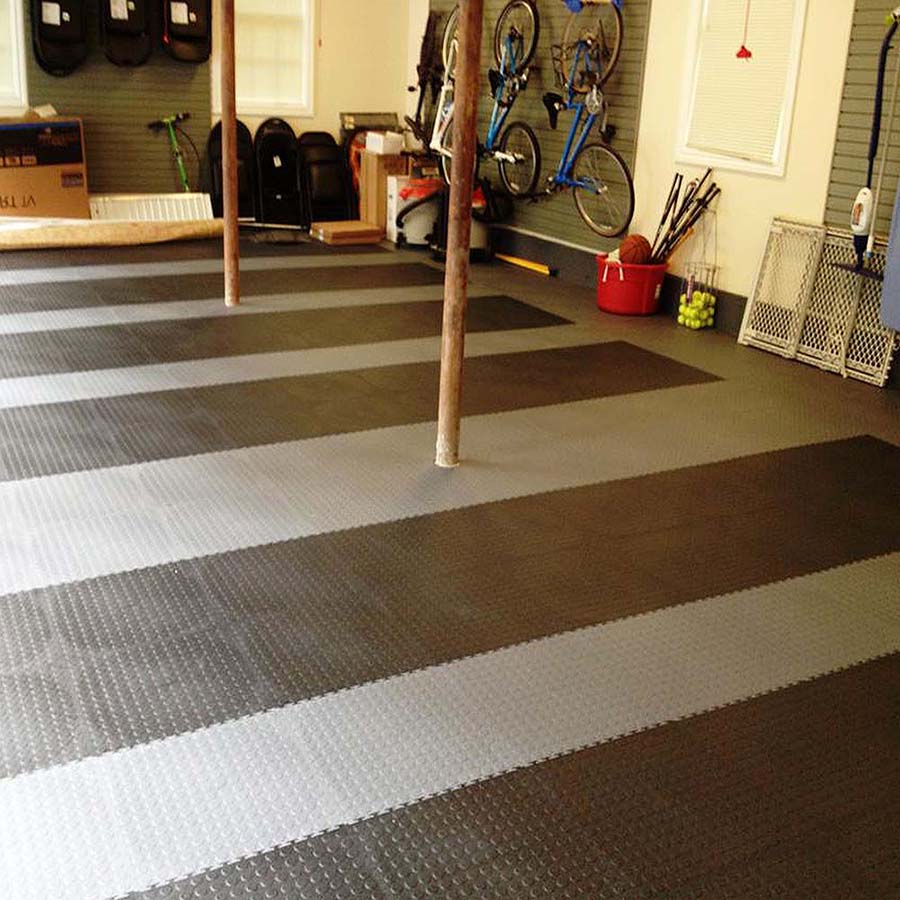
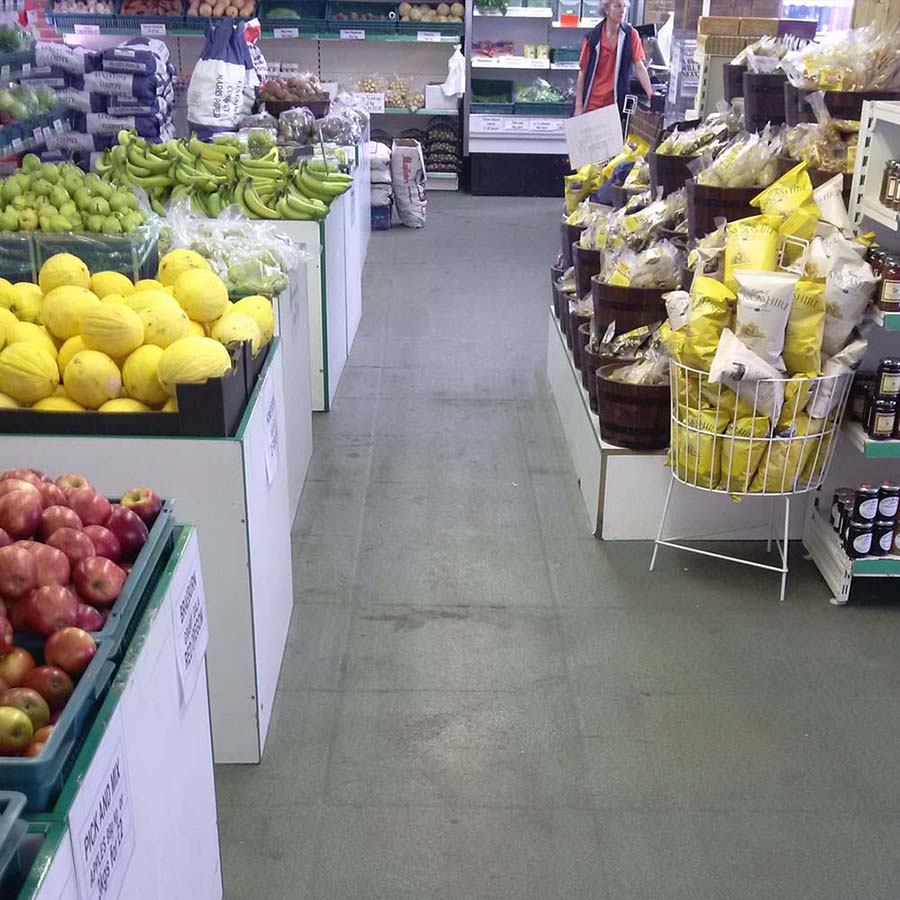
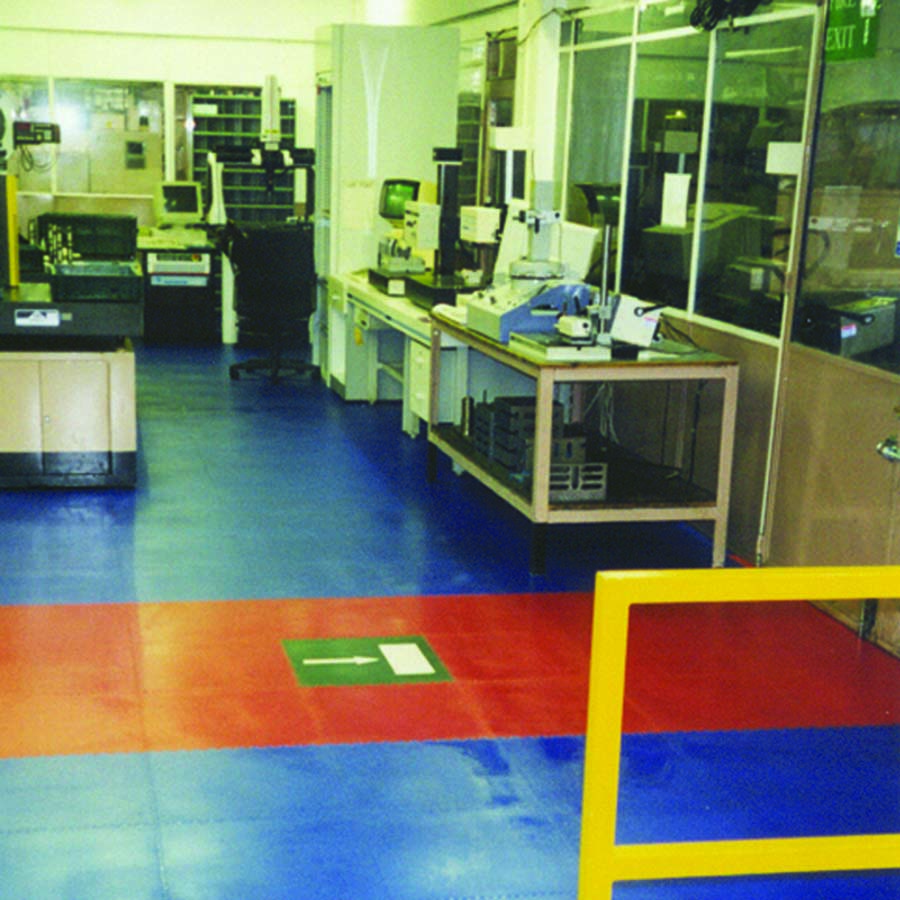
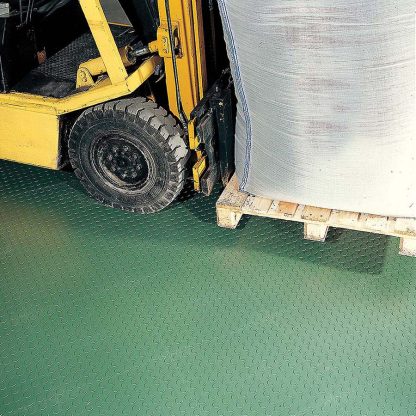
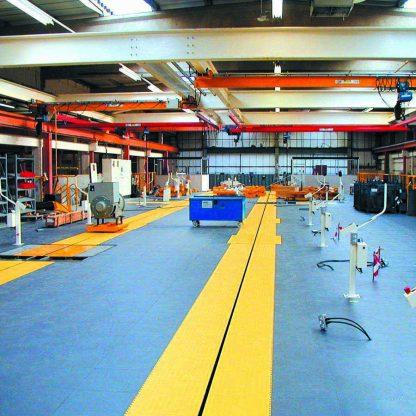
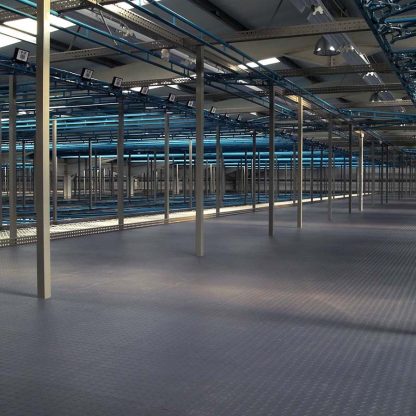
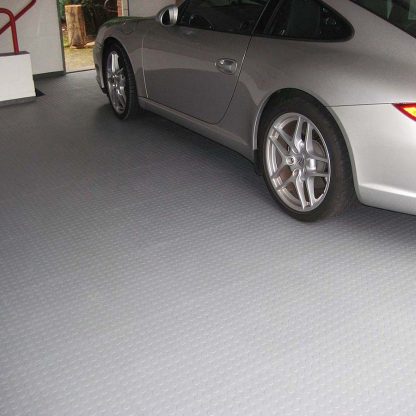
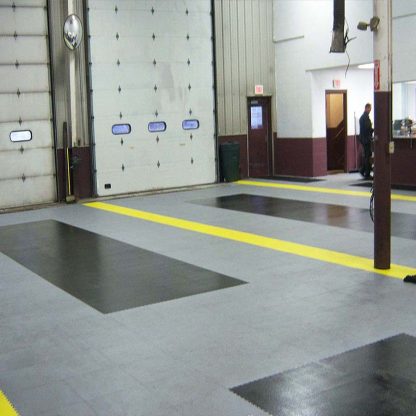
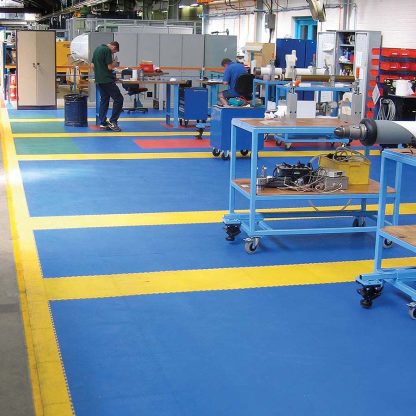
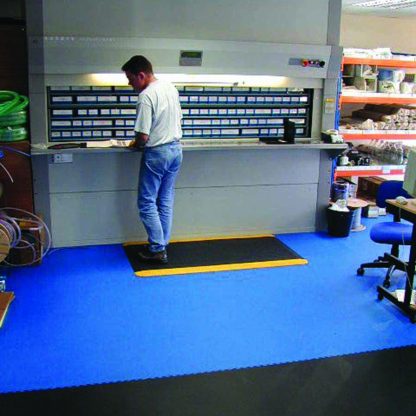
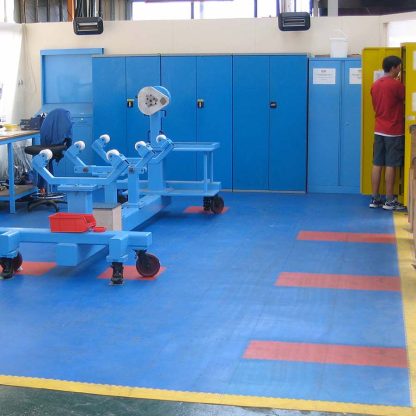
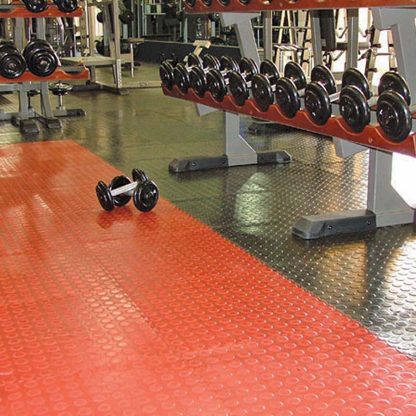
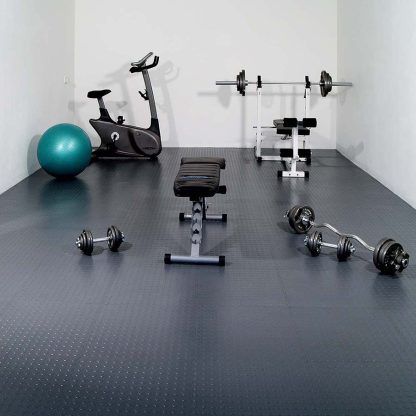
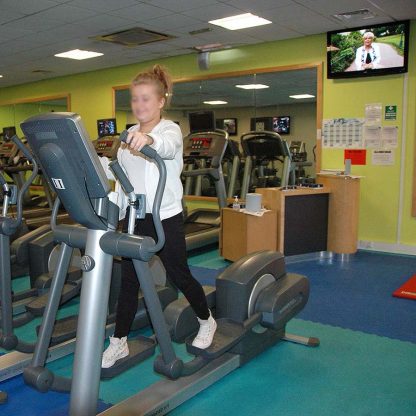
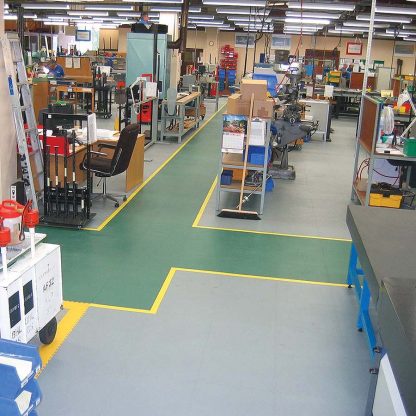
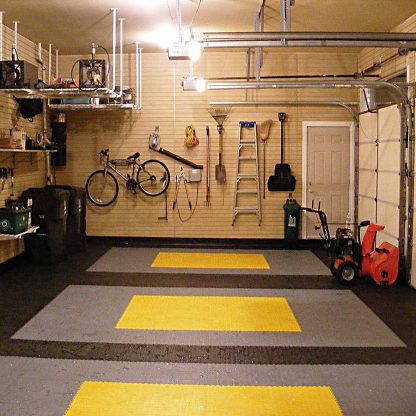
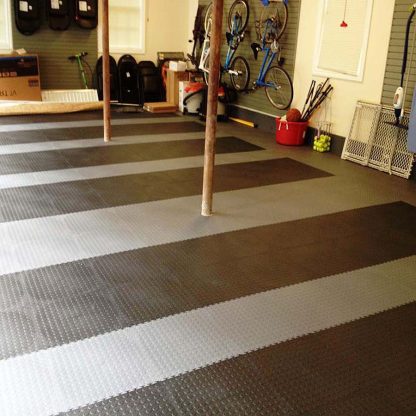
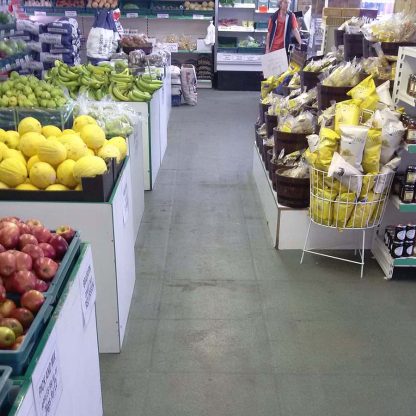
Typical Uses: Factories, laboratories, aircraft hangars, workshops, schools, showrooms, warehouses, gymnasiums, entrance halls, garages, museums, retail outlets, hospitals… the list is endless.
Surface preparation:
Begin by removing any dirt either by sweeping or using a vacuum. Duralok has been designed to make the installation as easy as possible and therefore can be laid onto almost any surface condition. However, some uneven surfaces may need rectification prior to installation:High points: Remove with the use of hand scrapers, diamond grinders or STR machines. All tools and diamond blades are available from our hire department. Low points: Duralok will bridge most small holes and indentations, however it is better if all holes are filled in order to support the tile. Please ring the Polycote Technical Department for the best and easiest solution on 01234 846400
Product preparation:
As with all PVC, Duralok will expand and contract with changes in temperature. For this reason, we advise that the tiles are stored in the room in which they are to installed for at least 24 hours prior to installation. Breakdown the pallet of tiles into small packs to help them acclimatise and settle. Installation should not take place at temperatures below 15oC.
Installation:
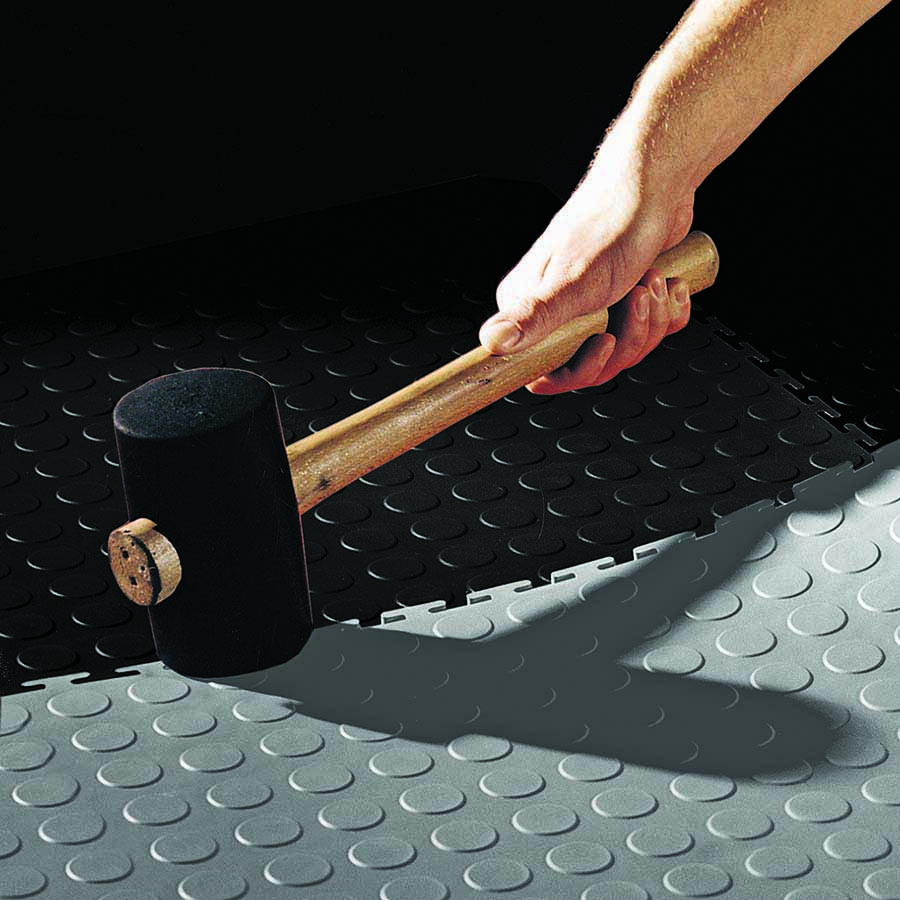
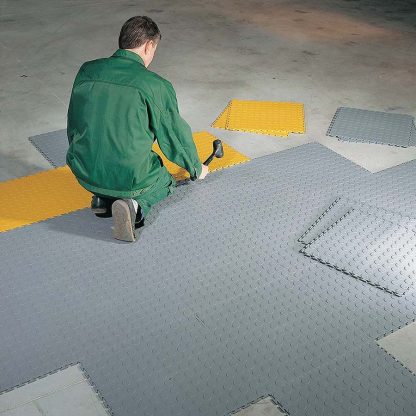
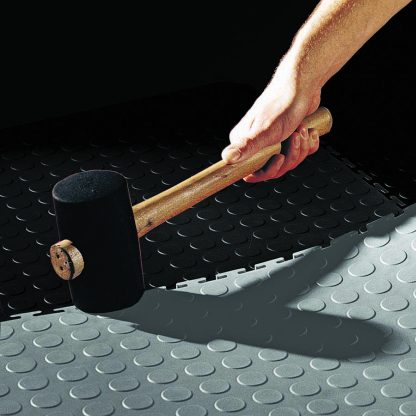
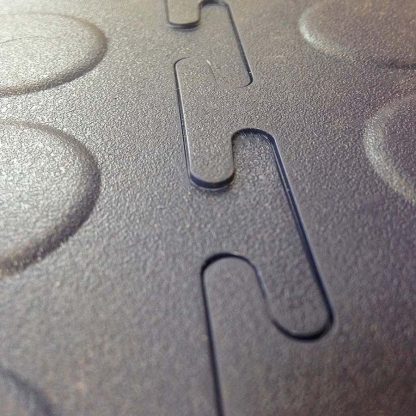
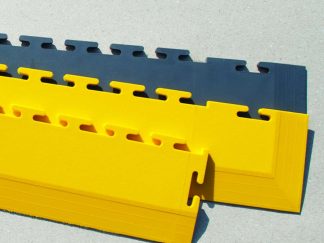
Begin by identifying your start point. This should be in the centre of the room. Once this has been done, ping two string lines90o to each other through the start point to help with laying the tiles square to each other. Loose lay the tiles out on the floor to settle. Using a rubber mallet, tap tiles together, starting at the corner of the tile and working your way outwards towards the edge of the tile.Once all the whole tiles have been laid, leave to settle before measuring, cutting and fitting the final tiles. A minimum gap of 5mm must be left around the edge to allow for expansion.For edges, a ramped piece can be supplied to avoid creating any trip hazards.The tiles may require gluing if they will be in direct sunlight.
Cutting:
Cutting the tiles is very simple. This may be completed with the use of a Stanley knife, guillotine, hand saw or electric saw.

























 Technical Data Sheet