An excellent way to save money with these Garage Floor Coating Kits.
This kit is includes everything you will need to complete the job.
The product included in this kit are:
Primer – OT Primer – Our OT Primer is an incredibly strong, heard wearing, primer and sealer for floors that are contaminated with damp, oily or greasy substances.
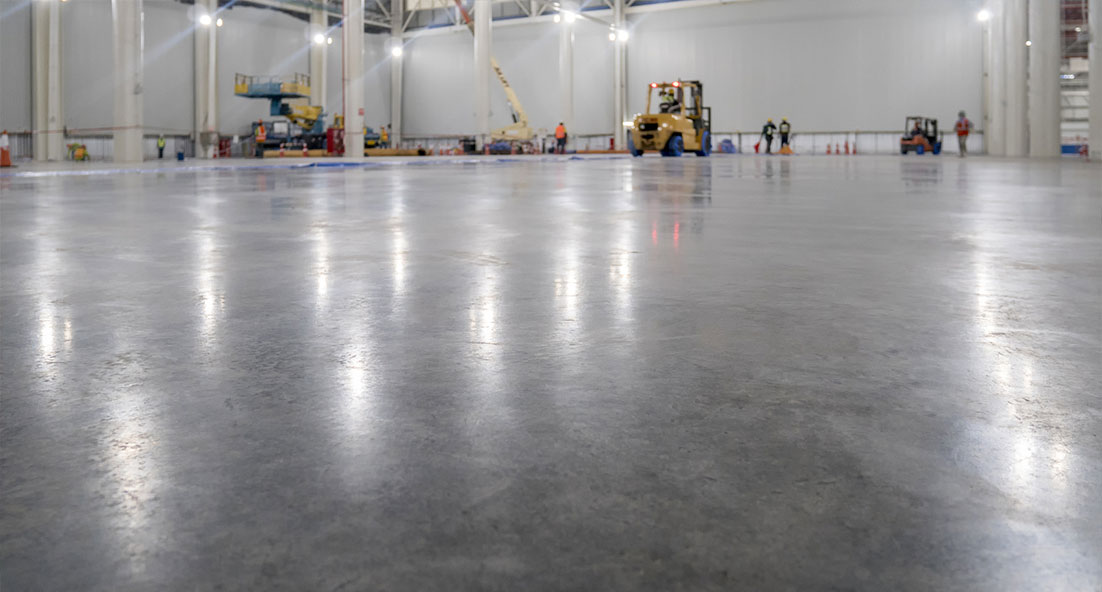
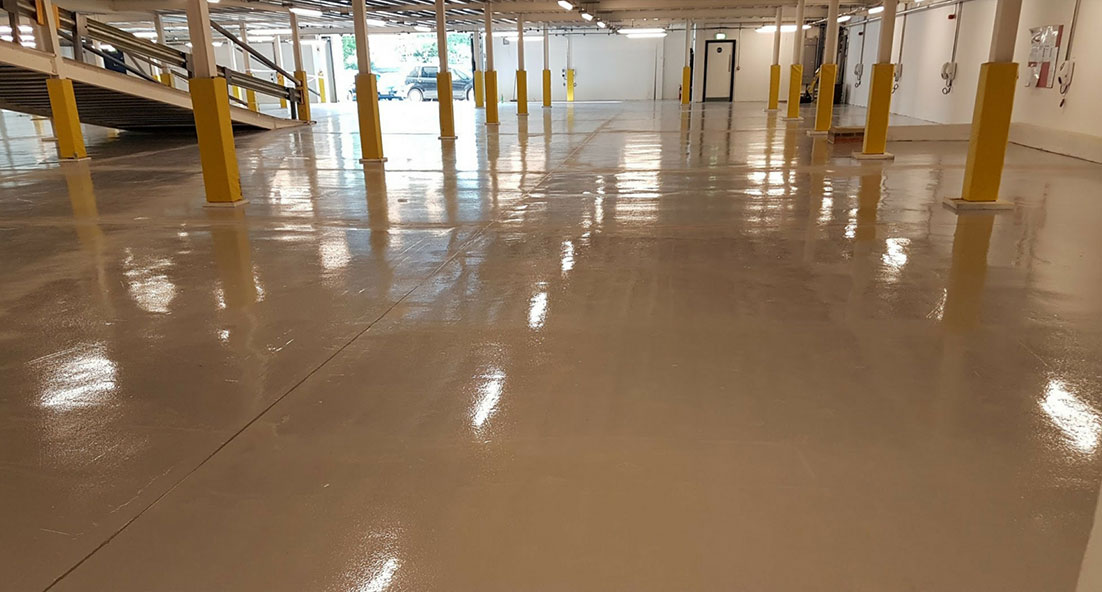
Top Coat – Flortex Professional – This is a 100%, Solvent Free epoxy resin floor paint that will provide a hard-wearing, easy-to-clean, gloss finish. It has excellent chemical and tyre resistance and it will withstand heavy vehicles for long periods of time. Ultra Tough and Long Lasting
Application Tool Kit including: 1 x 12″ Roller Frame, 2 x 12″ Woven Sleeves, 1 x Mixing Paddle, 1 x 1-2M Telescopic Roller Pole, 2 x 4″ Hand Brushes (100mm), 1 x 12″ Paint Scuttle (not a flimsy tray)
This kit is designed to save you the hassle of searching through pages and pages of products which ensuring that the product you order are of excellent quality, and a catch all for almost any type of surface you have.
Please Note: The coverage’s listed are, as always, substrate depended. The texture and porosity of your surface will influence the overall coverage.
PRIMER
Pot life:30 mins @ 20oC
Application temperature:5oC to 30oC
Cure time:Initial cure 14 – 16 hours @ 20oC
Overcoat:Within 24 hours to ensure a good inter-coat bond
Number of parts supplied:2
Primer for:Polycote Flortex range of epoxy products
Colour:Straw-coloured and translucent
Please consult the OT Primer technical data sheet for full technical product data.
TOP COAT
Pot life:30-35 mins @ 20oC
Application temperature:10oC – 25oC
Cure time: Re-coat 16-36 hours @ 20oC
Light wheeled traffic – 24 hours
Full chemical resistance – 7 days
Number of parts supplied:2
Priming required:Prime surfaces with Polycote WD, ZP, DPM, OT or EP Primer
Please consult the Flortex Professional technical data sheet for full technical product data.
SURFACE PREPARATION
Preparation:Thorough substrate preparation is essential.
Recommended methods are:
Powerfloated concrete – use a Vacuum Assisted Shotblaster to remove weak laitance and provide a surface key for the coating. If this is not possible, chemically etch with Polycote Etch IT then rinse thoroughly and allow to dry before applying Flortex Professional.
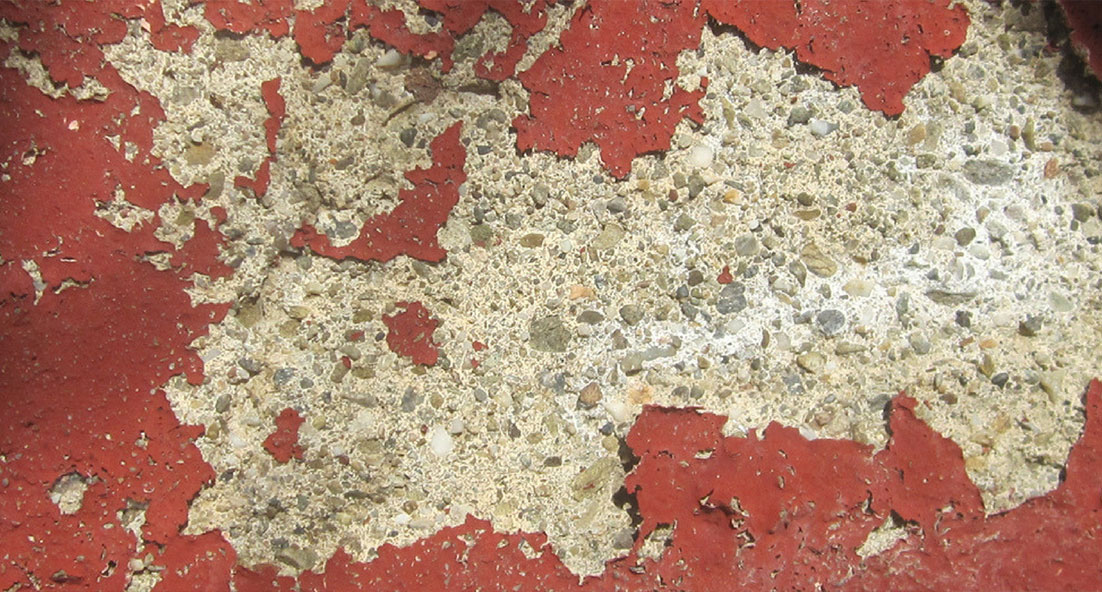
Loose paint or rust – remove, using a Vacuum Assisted Shotblaster, Floor Grinder or equivalent method.
Loose or friable concrete – use a Vacuum Assisted Shot blaster. If this is not possible, chemically clean with Polycote Etch IT (not included in the kit) then rinse thoroughly and allow to dry.
Please contact Polycote technical helpline, and prepare the surface in accordance with the appropriate primer data sheet.
PRIMING
Mixing:
Add the whole of part ‘A’ to the whole of part ‘B’ in a suitable container, and thoroughly mix for at least 3 minutes. For best results use a slow speed drill with a mixing paddle, making sure all material from the sides and bottom of the container are thoroughly mixed in.
Ensure thorough mixing as an unmixed product will result in a poor or non-cure situation.
Application:
Apply by brush, roller, or squeegee, in one or more continuous applications until the material is absorbed and a film has formed. Make certain that the entire surface is completely covered to prevent oil or water migration. Oil or grease impregnated surfaces are best primed with a paint brush or soft sweeping broom, in order to ensure the primer is worked well into the surface. Allow to fully cure before the application of any further coating.
Whilst this is in fact extremely rare, it is important to note that if contamination is particularly bad, the substrate may require a further coat of OT Primer.
Re. Self-Levelling Cementitous Screeds. Should the intention be to pour a cementitous screed (Polycote Easi-Screed) over the primer, then it is important to broadcast kiln dried sand over the primer to ensure an intercoat adhesion is achieved between the primer and the screed.
Ensure Aggregate should be sprinkled evenly over the OT Primer whist it is still WET, at a rate of 1kg per m². (Spiked shoes may be worn to avoid disturbing the wet coating).
Allow to cure for a further 24 hours before removing any loose / excess aggregate from the surface, which is then ready to receive the desired Easi-Screed product.
Where dampness and/or oil contamination is of particular concern, it is advisable to seal the surface completely with one first coat of OT Primer and then to lay a second coat onto which the aggregate would then be applied. The reason for this is to ensure there is no ‘bleed through’, should any particles of aggregate penetrate the primer. (Whilst any such penetration is in fact extremely unlikely, some companies with strict requirements / constraints prefer the certainty of a 100% seal, prior to any aggregate being applied).
Finally, please be free to consult our Technical Department, who will be more than happy to help with any specific requirement / concern.
TOP COAT
Mixing:
Having fully prepared the substrate, stir the individual components before mixing together. As pigment may ‘sink’, ensure that the mixing is very thorough and from the bottom of the container. Add Part ‘B’ to Part ‘A’ and thoroughly mix for at least 3 minutes. For best results use a heavy duty slow speed drill with a mixing paddle.Ensure thorough mixing as an unmixed product will result in a poor or non-cure situation.
Application:
Flortex Professional may be applied by brush, roller or squeegee, depending on the film thickness required.
It is normally applied at a rate of 0.3kg to 0.5kg per 1m2 using a roller or squeegee. When the quantity of resin used exceeds 0.5kg/m2, air bubbles may become trapped within the coating. These are removed using a Polycote Spiked Roller. This must be carried out immediately after application of the resin before curing takes place. Spiked shoes should be worn to avoid disturbing the wet coating. (Spiked Roller and Spiked Shoes are not included in the kit)
To achieve a HIGH BUILD or TEXTURED finish – having applied the resin at a rate of 0.5kg to 1.0kg/m2, then gradually sprinkle Kiln Dried Aggregate onto the WET resin at a rate of 2-3kg/m2. The quantity of aggregate required will depend on the thickness of the initial coating. If a textured surface is required, all ‘wet spots’ must be re-covered with aggregate. Please note: spiked rolling is unnecessary for the first coat when using aggregate. Allow first coat to fully cure (preferably 24 hours) before removing all excess aggregate. A final coat of Flortex® Professional should then be applied using a roller or squeegee. The thickness of this coat may be varied depending on the finish required.
